

Static cling in clothes is usually easiest to manage by changing the two fabrics that touch or by avoiding extra dryer time when the care label allows. If you are already dressed, take off the outer layer, let it hang freely for a moment, and see whether it still pulls toward the fabric underneath. Swap the inner layer if you can. If the garment still catches when it is worn by itself, check the fit, lining and seams before treating it as a laundry problem.
A skirt that rides up over tights on the way to work and a pile of shirts that come out of the dryer stuck together can look like the same problem. They offer different clues. This guide gives you a quick test for the outfit you are wearing, then a low-effort way to see whether changing your drying routine would actually help. Start with what you already own.
Static cling in clothes: Identify where it starts
Take the item off and hold it by the waistband or shoulders. Look at how it falls while you keep the fabric clear of your other clothes. A thin layer that pulls toward another layer when you bring them close, then releases when you separate them, is a better clue than a hem that just looks rumpled. Small crackles can be another clue, but you do not need to hear one to make the comparison.
Try the garment against a different inner layer for a short walk around the room. Keep the shoes, waistband position and anything tucked in the same. If one combination hangs comfortably and the other catches at several points, write down which pair caused trouble. If both catch in precisely the same place, see whether a pocket, seam allowance or tight spot is pinning the material there. This simple check does not measure charge; it helps decide whether to start with styling, garment construction or laundry.
Before you leave, change the surface underneath
The simplest rescue is often to change one piece that is hidden. Under a dress, compare a smooth slip you already own with the layer you first put on. Under a shirt, change the undershirt without changing how far the outer shirt is tucked. The smooth option still has to fit without bunching or pinching. A second layer that moves up when you sit will bring a new problem even if the fabrics separate easily at first.
You can also change the visible layer if that is easier. A pair of trousers you know sits well over the same tights may be more practical on a rushed morning than trying to treat the original skirt. Hang the skipped garment somewhere clear, so you can tell later whether the problem returns only when you put the two pieces together. If the issue is pressure at a closure rather than cling across fabric, our guide to dress shirt collar fit shows a similar way to distinguish garment fit from the impression you get standing still.
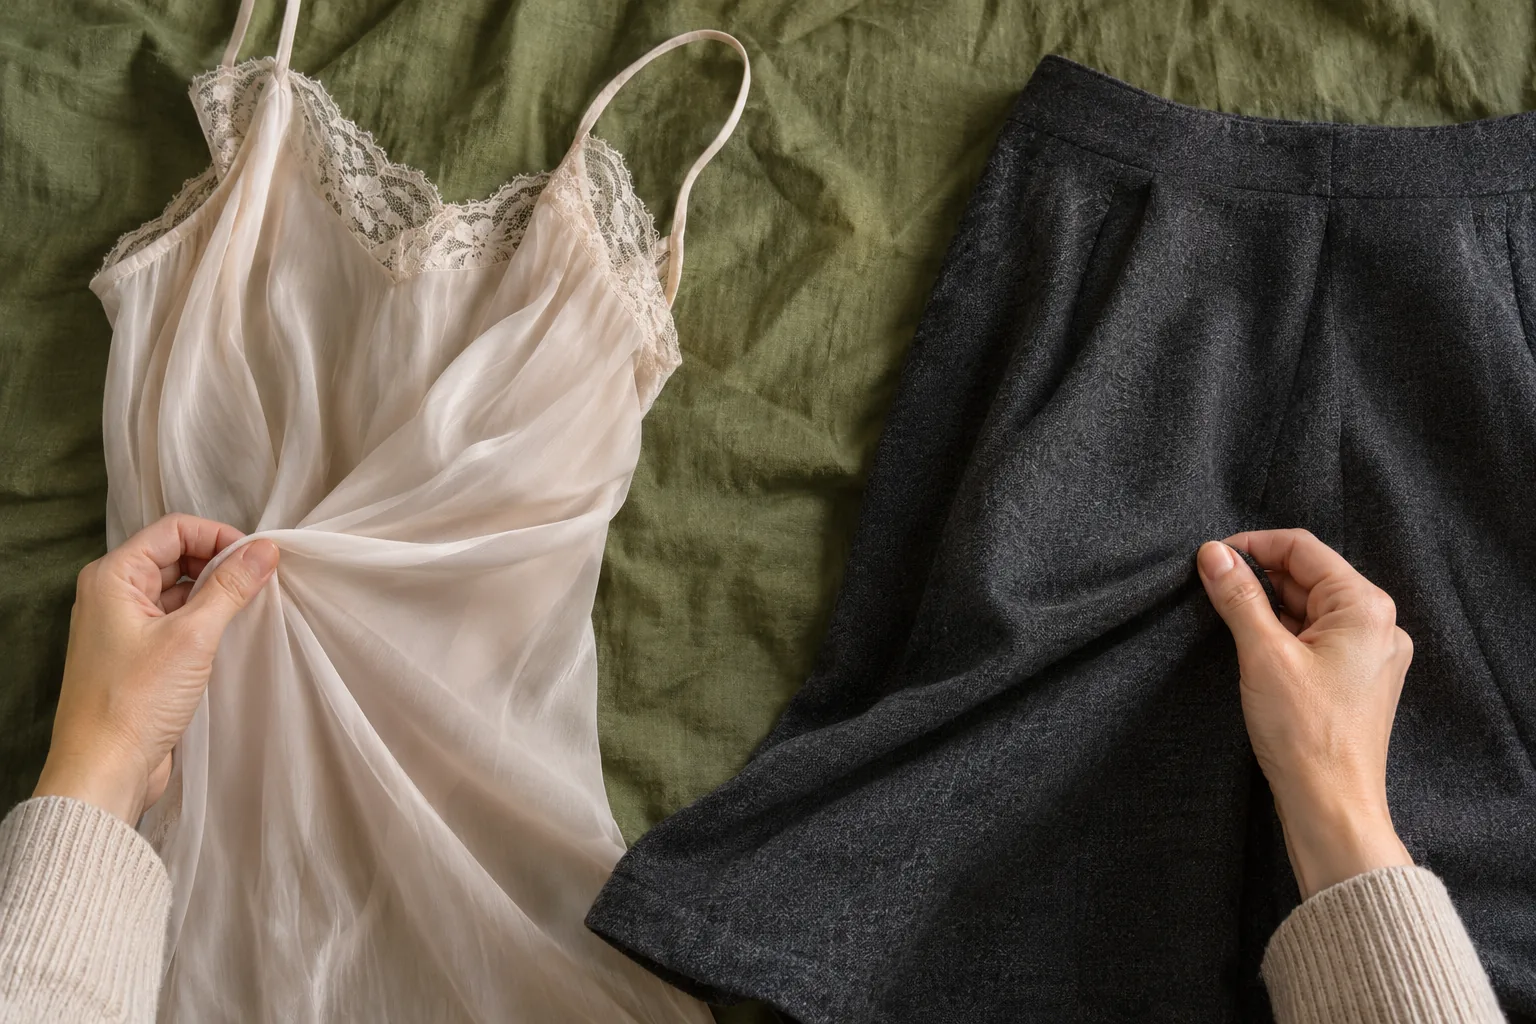
Look at the load before adding another product
The Drycleaning & Laundry Institute's guidance on static cling identifies extended drying and mixed fiber loads as factors in professional textile care. At home, start with an observation rather than borrowing a commercial machine setting. Look at what was in the load, especially if some lightweight pieces felt dry long before the rest. Thick towels and thin garments may finish at different times. If the labels and your machine instructions permit it, remove the pieces that finish first, or put items with similar drying needs together next time. You can do this with a normal wash; there is no reason to run a separate load just to make a comparison.
Check the care label for every item you move. A top that allows tumble drying and a lined garment that calls for a different method should not automatically follow the same routine because they share a color. Choose the allowed setting and follow the machine's guidance about load size. If you have not used a lower setting before, expect drying time to vary rather than assuming the lower setting will finish by a particular minute. Check when convenient and record what actually happened.

Give the trouble piece a different finish
If the instructions allow air drying, try it for the one piece that gave you trouble. A hanging rack can work for a top designed to be hung; a knit that calls for flat drying needs a supported flat surface. Leave enough room for air around the garment and let it dry fully before putting it away. Do not rush the comparison by wearing a damp item or setting it aside folded with other clothes.
If air drying is awkward in your home, keep the test smaller. Take the light garment out when it has reached the dryness you need, and allow other items to finish as their instructions require. The useful change is skipping time that the light piece did not need. A cycle that suits one material or machine does not automatically suit another. On the next wear, repeat the same combination that gave you trouble; otherwise you will not know if you changed the drying outcome or just picked an easier outfit.

Check how the clothes behave in motion
A quick mirror check can miss the moment a hem starts following your leg. Walk a few steps at your normal speed, sit down, stand up, and check whether the fabric settles again. If the only movement you try is tugging downward in front of the mirror, you can spend the whole morning repeating a fix that disappears at the first stair. Use the bag or coat you expect to carry if a strap or closed coat changes how the outfit moves.
Pay attention to the pattern. If the hem catches all the way around after you put on a coat, the combination of layers is worth testing separately. If it catches under a single strap, change where the strap sits and check again. The same principle applies near the face: our crew neck versus V neck guide checks a neckline as part of the full outfit. A garment can look fine by itself and still behave differently in the combination you wear.

Be selective about things you apply to fabric
A laundry product is optional. The US Federal Trade Commission's guide to care labels explains how instructions communicate safe routine care. Begin with the garment label, then check the product and appliance instructions. If you choose a product, use it only as directed on an allowed material, and avoid a first experiment on a garment you need immediately. Where the instructions allow a hidden-area test, check that area after it dries for residue or a change in finish.
Skip shortcuts that ask you to put an improvised object in a running dryer or rub an unknown mixture on delicate fabric. They complicate the experiment and can make it harder to identify the cause of a mark or change in texture. If the only difficult combination is a particular skirt and pair of tights, swapping the pairing is a complete solution. You do not need to make every garment work with every other garment.
Keep one note for the next wash
A useful record is short: which item stuck, what touched it, how it was dried and what you tried instead. For example, record that a particular skirt pulled toward a certain pair of tights after a long mixed load and that a different pair stayed comfortable on a short walk. That observation supports using the second pair again. It does not yet show that the dryer caused the difference, because the base layer changed too.
The next time you wash the skirt, keep the outfit the same and change only the drying step. If the trouble repeats across different settings and layers, check the lining or ask a tailor to look at how it sits rather than buying another laundry treatment. If you discover one straightforward fix, stop there. The point is to dress and get on with the day, with one more combination you trust.