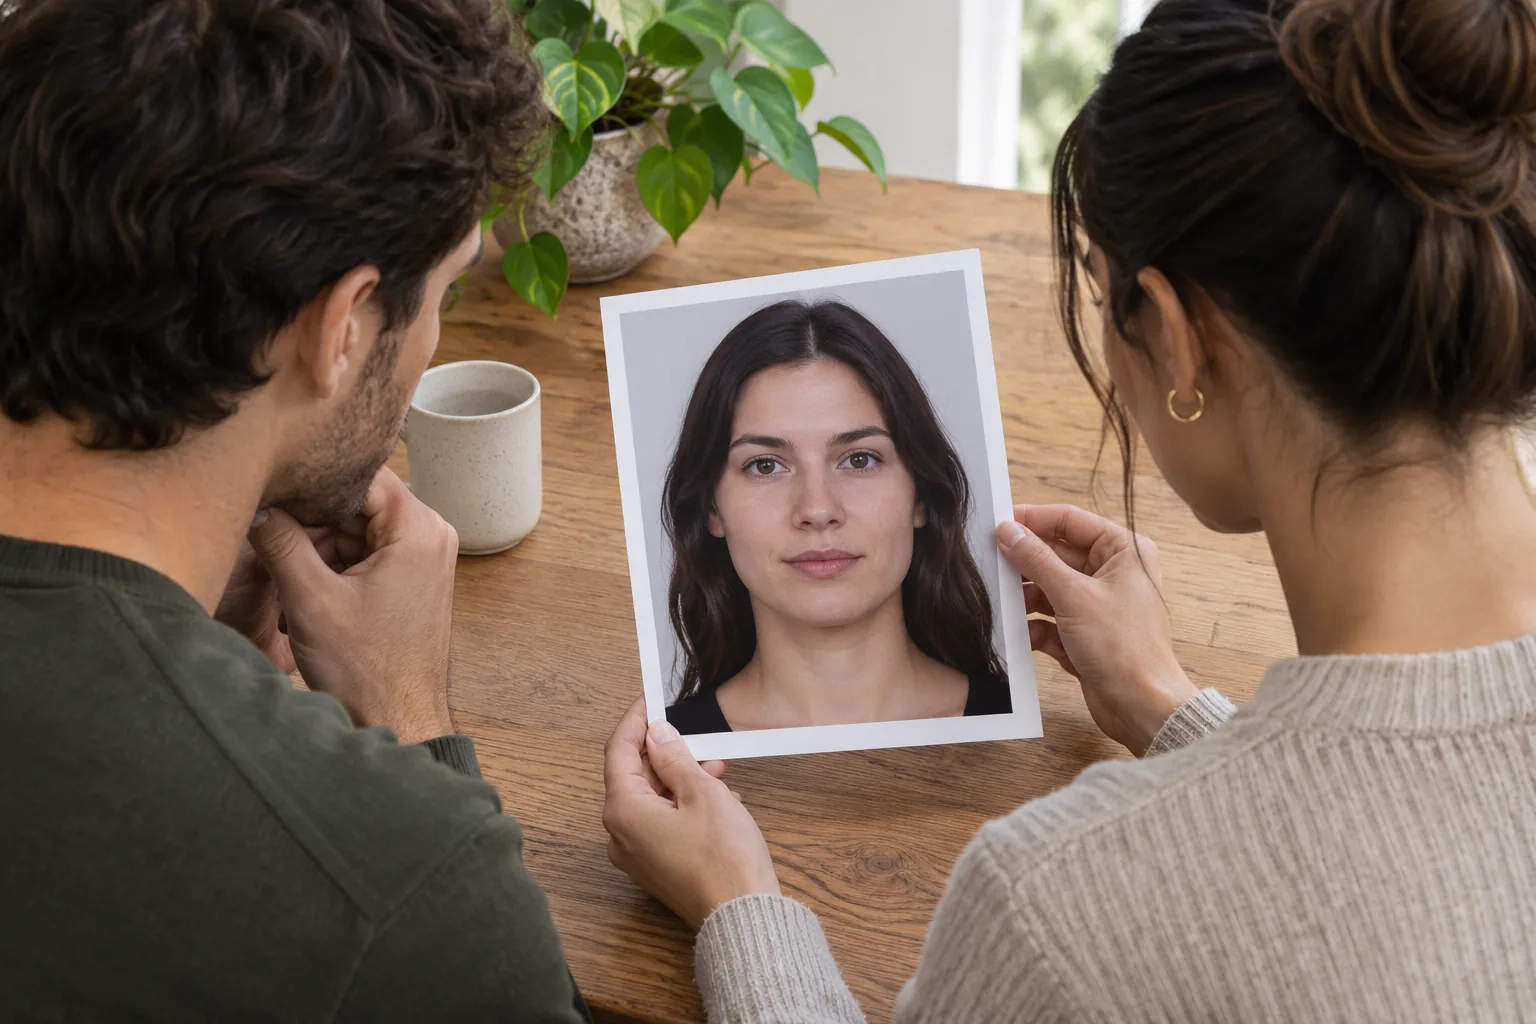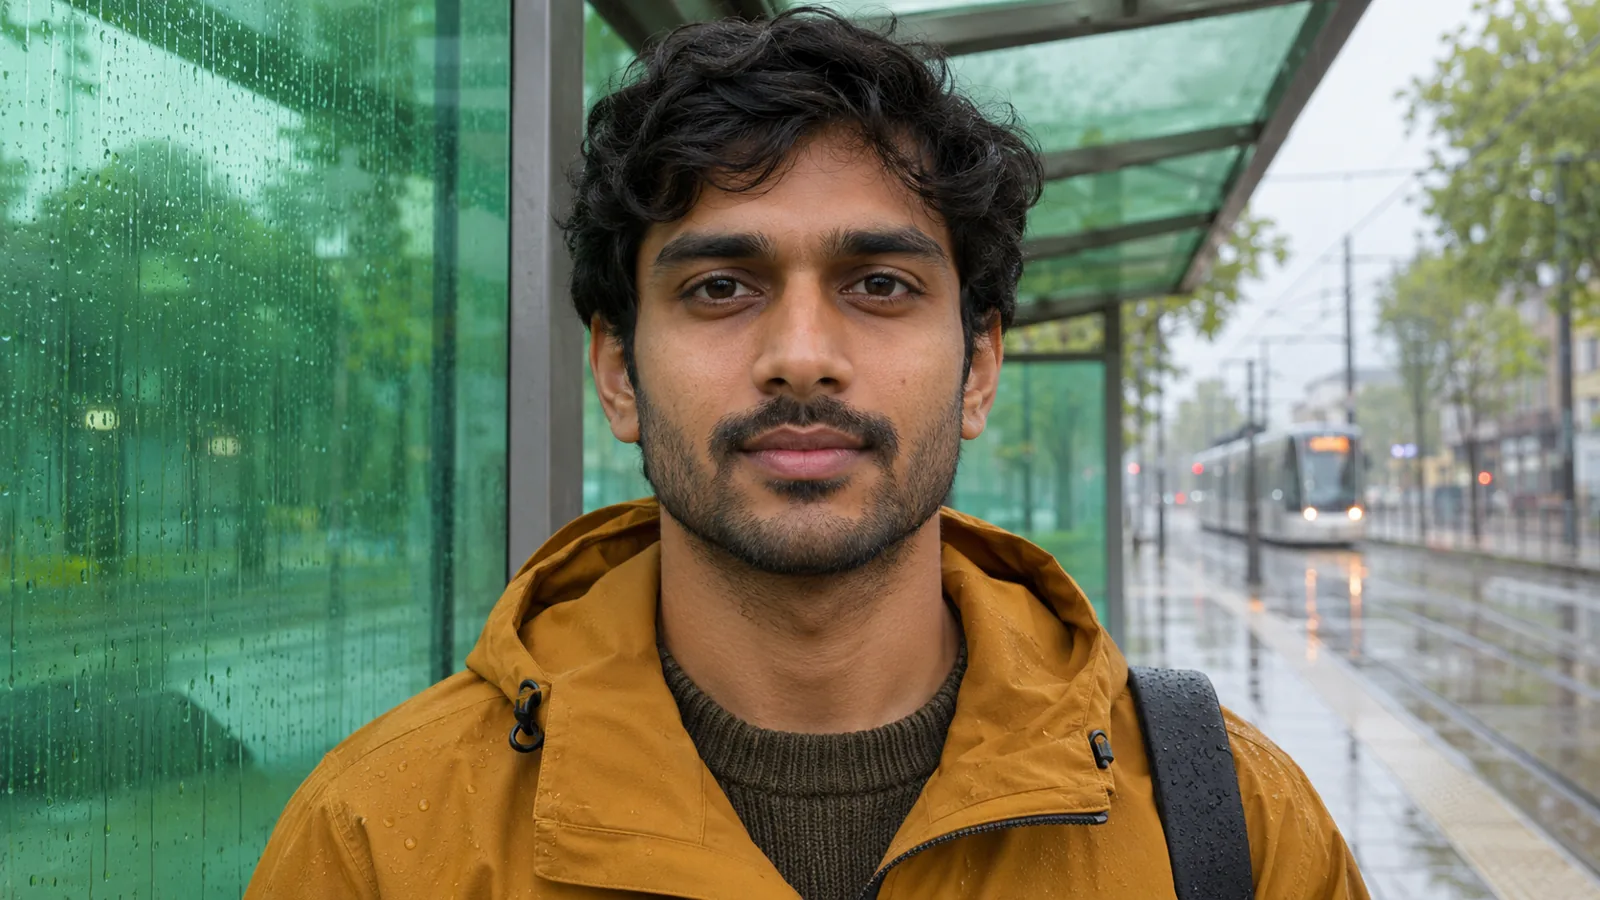
Mouth width is the distance between the visible corners of your mouth. To understand why it looks different across photos, start with a straight-on image with relaxed lips, then compare it with a second image taken from the same position. Note whether you smiled, turned your head, or lost sight of one corner in shadow. If the impression changes when you change those conditions, describe what the photo shows before drawing conclusions about your face.
A mouth can look wider in a bright portrait than it does in a dim selfie. It can also look narrower when a smile is caught halfway through, even if that smile would look broader a moment later. The useful task is to name what you are comparing. The visible span, the height of the lips, and the space around them can all draw your attention in different ways. A single label such as “small mouth” conceals those differences.
Mouth width starts at the corners
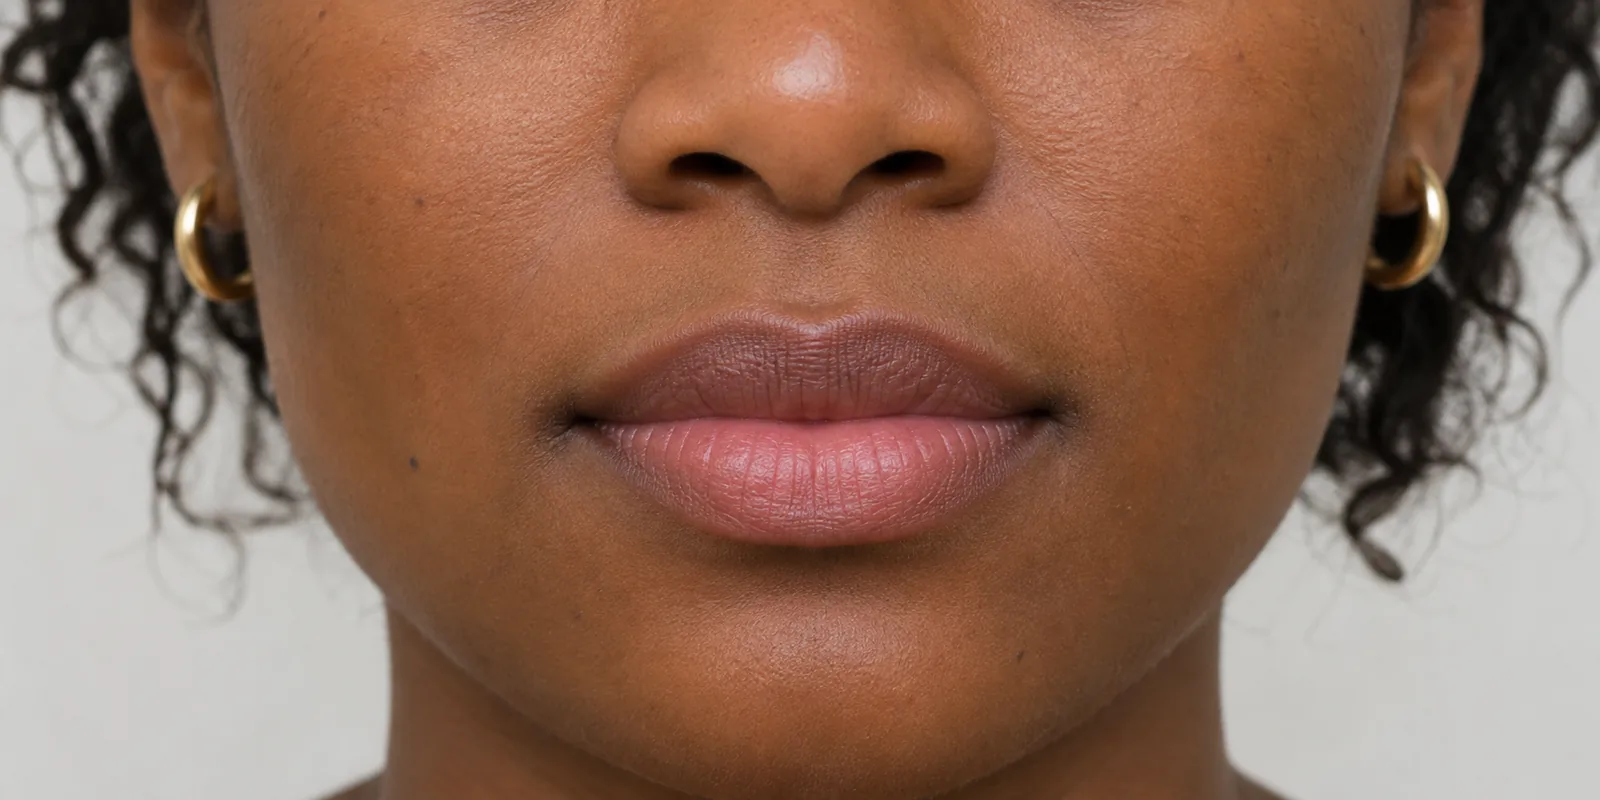
Look where the upper and lower lips meet on each side. Those junctions are your reference points. The outermost patch of lip color is often easier to spot, but it may stop short of the junction or extend beyond it because of makeup, reflections, or the texture of the skin. Start by asking whether you can see both corners at all. If you cannot, the picture may still be a fine portrait, but it does not let you compare the full span.
Anthropometric studies distinguish this horizontal distance from lip height. A quantitative study of young adults measured mouth width and the visible height of the colored lip separately. These dimensions answer different questions. Two mouths can cover a similar horizontal span and have quite different outlines. For a closer look at that distinction, see our guide to lip shape, contour and fullness. For your own observation, a plain description such as “both corners are clear, and the lower lip is more visible” gives you more to work with than a general size label.
Separate expression from the photo setup
Imagine that you are taking a picture for a profile and want to decide which expression feels most like you. Take a reference with your jaw comfortable and your mouth resting naturally. Keep the phone where it is and take another with the easy smile you would use when greeting someone. Look at what happens at each corner. The smile may pull the corners out and up, while the surrounding cheeks create a different outline. You are comparing two moments of expression, and both belong to the same face.
Avoid squeezing your lips together to make the reference look neat. The tension introduces another expression, and you may end up comparing pressed lips against a smile. Our neutral facial expression guide describes a repeatable way to settle into a comfortable reference. Use that approach if the first frame feels posed. One comfortable reference and one expression you actually use can be more informative than a long series of deliberate mouth positions.

Give both sides of the mouth the same opportunity to show up
A small turn can make one corner difficult to see. Sometimes the boundary between the lips and the skin becomes less distinct on the side farther from the camera. Sometimes a mustache or a shadow hides the outer junction. The visible span can shrink in either case without any change in the underlying anatomy. Before zooming in, check the full image for a turn. Look at the relationship between the nose, chin, and sides of the face. Use those cues together, since natural differences between sides are common.
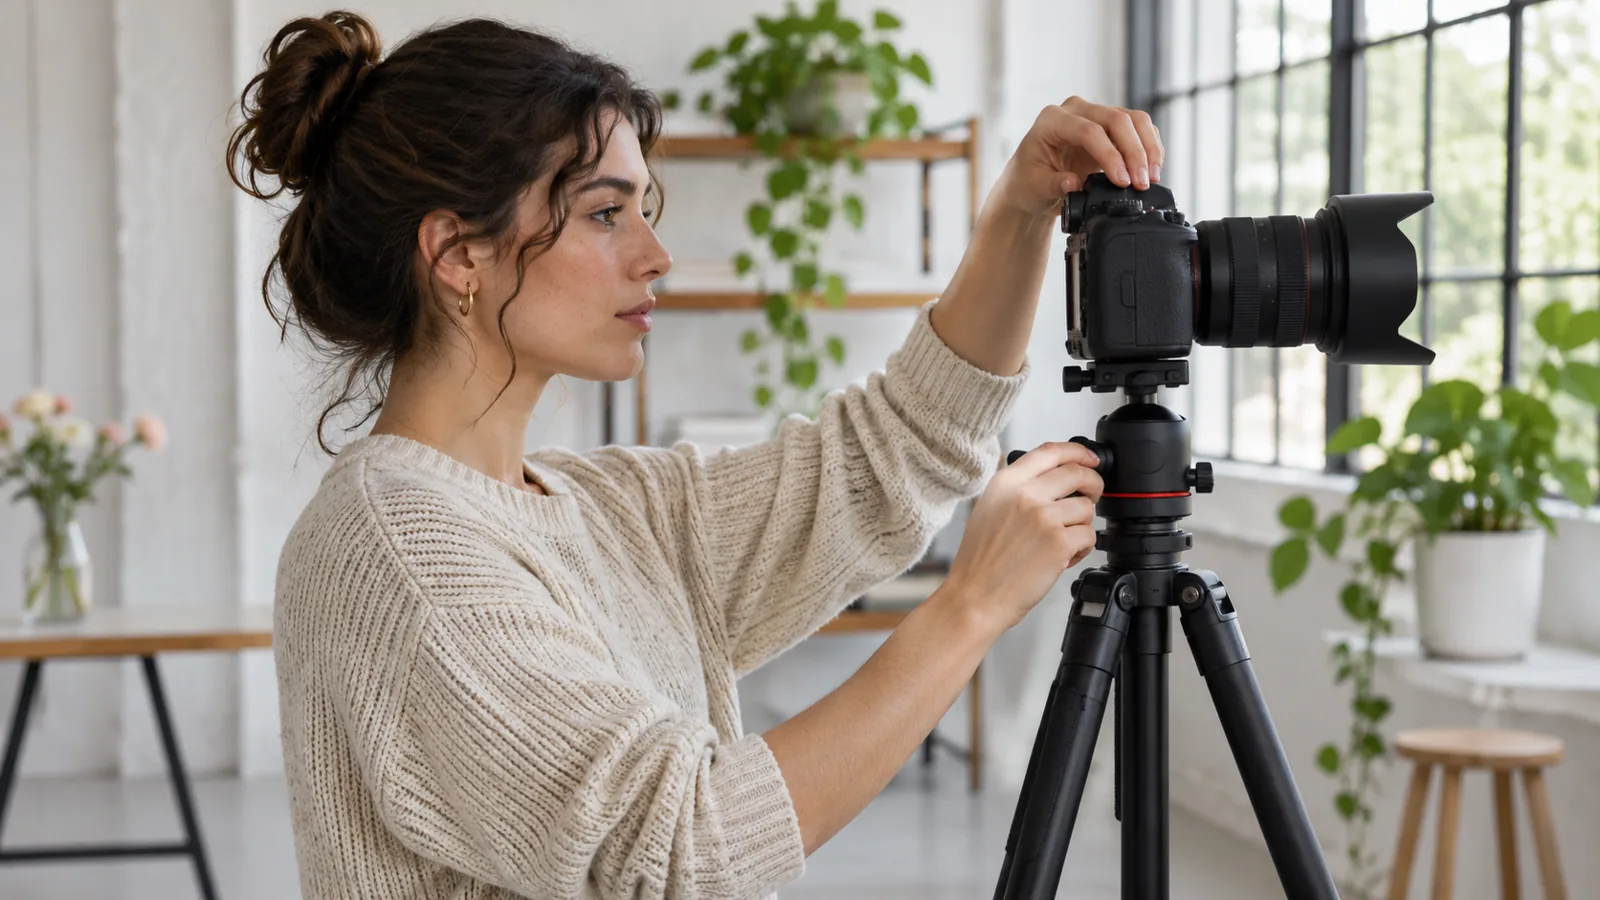
Put the phone at a comfortable distance and keep its height and position steady. A shelf, tripod, or a friend who can hold the phone still will do. Use a timer if it helps you stop leaning toward the screen. Light both sides enough to see where the lips meet, and keep the uncropped photo so you can check the pose afterward. A tightly cropped lower face can be useful for confirming the corners, but the crop also removes the clues that tell you whether the head was turned.
Use proportions as descriptions
A phrase such as “wide relative to the nose” means something different from “wide relative to the lower face.” If you read an observation about relative width, look for the feature it was compared against. The answer can change when you use another reference, and the reference itself may be less visible in a different photo. A wide crop, a centered portrait, and a close selfie also place different emphasis on the same features.
The study above also reported variation in mouth width relative to facial width. Its measurements describe a particular group measured under a defined method. The variation is a good reason to be skeptical of a social media graphic that presents one ratio as a rule for everyone. A study average does not tell you which expression works for your headshot, what people notice about you in conversation, or whether a styling choice feels right on an ordinary day.
Bring a specific question to MogRise
An app-assisted review is easier to interpret when you know what decision you want to make. Suppose one picture makes the lower face seem crowded, and you want to know whether a different expression would work better for your next profile photo. Start by checking whether the corners and chin are visible in the reference. If you choose to use MogRise, provide clear front and profile photos in the app’s capture flow. Keep the expression and camera setup consistent when you want to compare observations, and read the explanation alongside the result.
An overall score cannot answer the mouth-width question on its own. If a description draws your attention to the lower face, put it into words you can verify in the picture. You might observe that the relaxed front view shows both corners, while the other image hides one in shadow. That gives you a concrete photo choice to test. It also helps you separate a styling experiment from a claim about anatomy. Try a clearer reference first and decide whether the remaining observation is relevant to the decision you started with.
Test one change that makes sense in everyday use
If you are choosing a photo, hold the lighting and camera position steady and change the expression. If you are choosing a facial-hair style, compare the corner visibility with the same expression under ordinary light. Brush existing facial hair into place for one picture before thinking about a trim. Ask whether the difference is visible at a normal viewing size. A difference that appears only when you zoom in to inspect individual pixels may not matter for the profile image, haircut consultation, or daily routine you have in mind.
Keep a short note beside the picture you prefer. For example, write that the mild smile feels natural and both corners remain visible, or that the front view gives a clearer reference than the angled photo. That note records the actual reason for your choice. If you later change the background or the way you take pictures, you will know which parts of your observation you can carry forward and which deserve a fresh look.
If you share the comparison with someone, give them the whole picture and ask a concrete question about the intended use. “Which expression looks more relaxed in this headshot?” usually invites a more useful answer than a request to rate the width of a feature. Take the feedback as one person's view of two pictures.