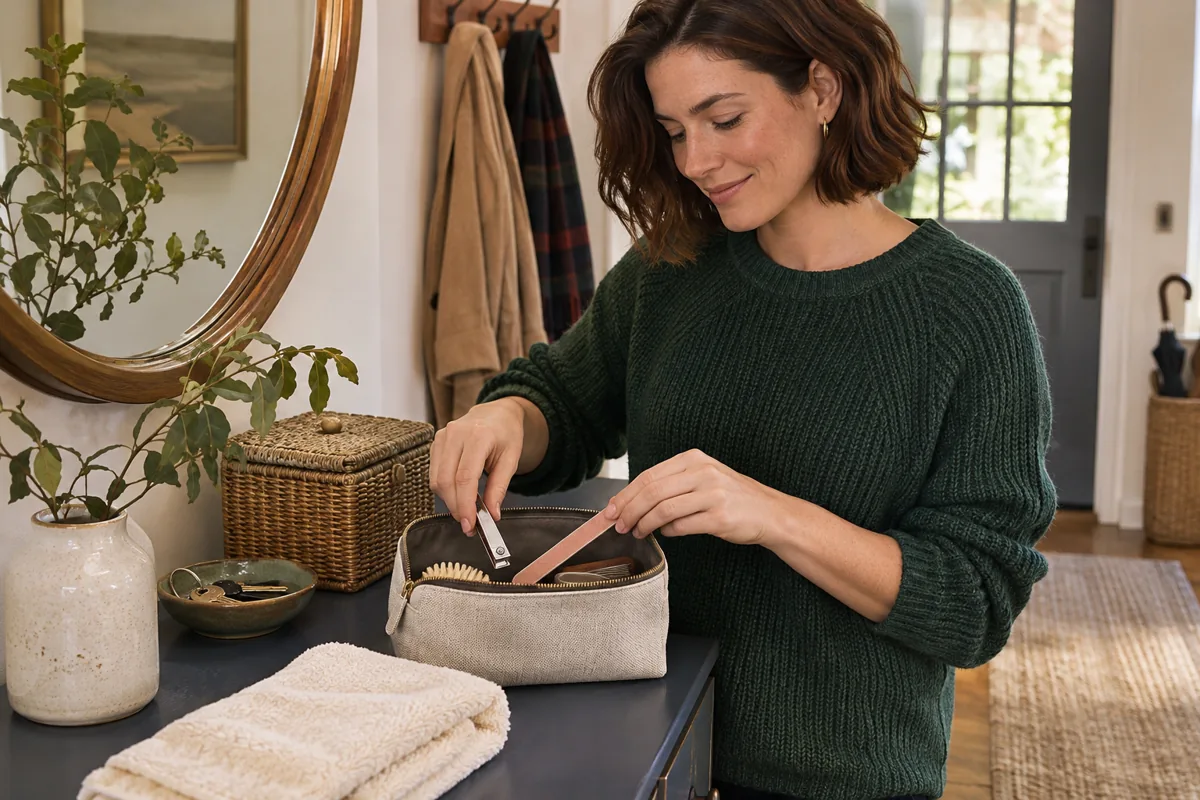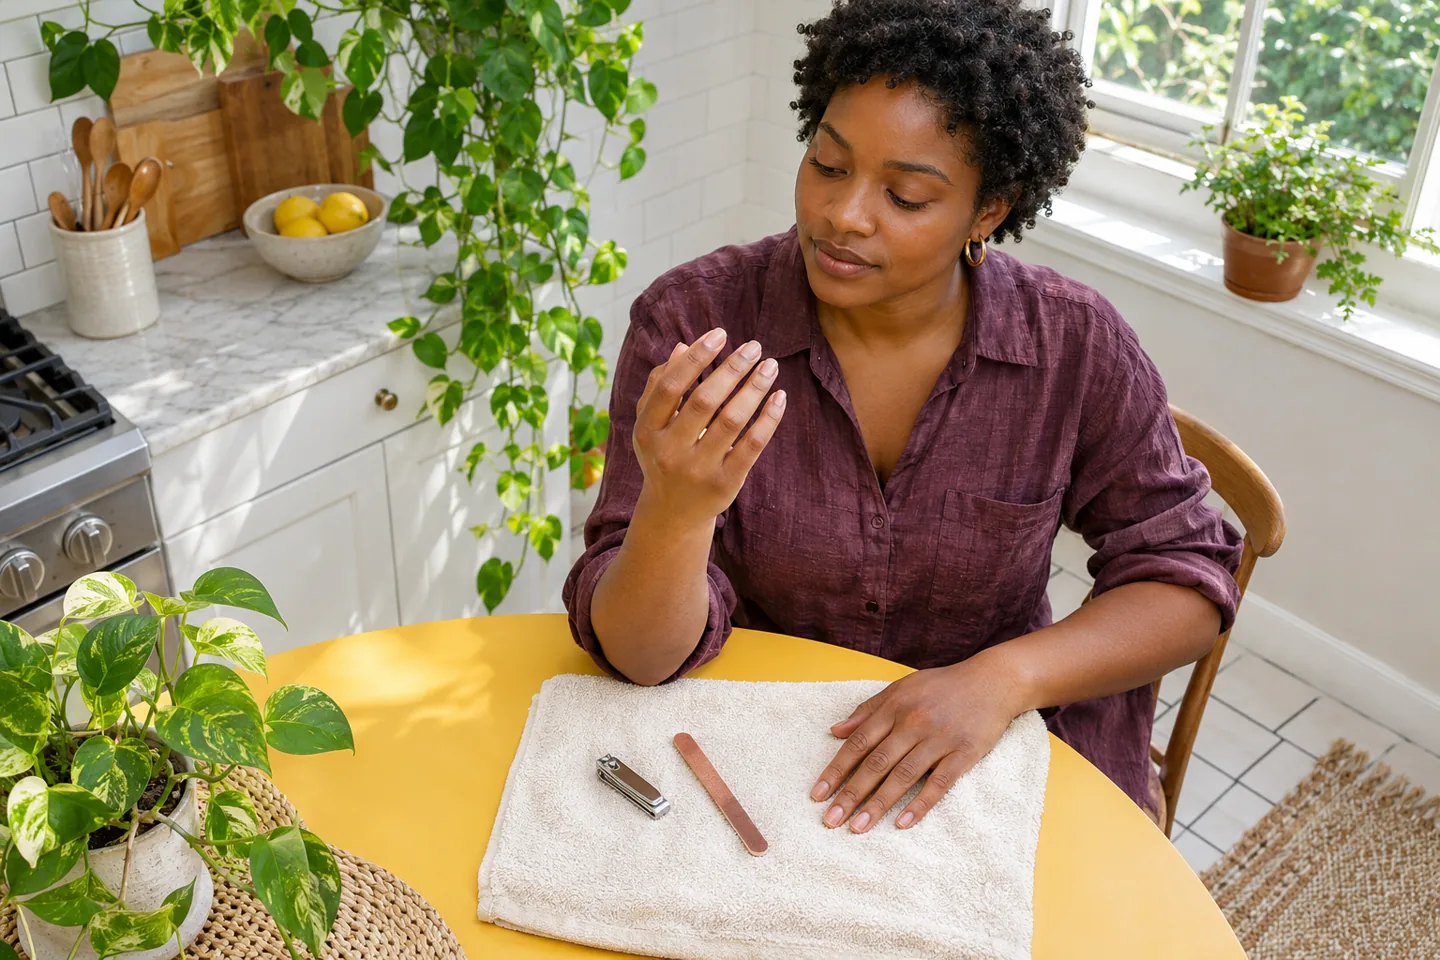
If you are learning how to trim fingernails, start with clean hands, suitable personal tools and a length that remains comfortable for your daily tasks. Trim the free edge almost straight across, then gently soften sharp corners with a file. Leave the surrounding skin and cuticles alone. The goal is a manageable edge, not the shortest possible nail or a perfectly identical set.
This guide concerns ordinary care of healthy natural fingernails on your own hands. It is not a toenail guide, a treatment for a painful or changed nail, or a procedure for removing artificial nails. You can finish the task without polish, a powered device or a complicated manicure kit. Decide what actually needs attention, arrange a stable place to work and give yourself permission to stop once the edge is comfortable.
How to trim fingernails starts with choosing a length
Look at the nail from the top and from the fingertip before reaching for the clipper. Identify the free edge you intend to shorten, keeping the attached part and surrounding skin out of the task. Think about what you use your hands for: typing, an instrument, lifting equipment or everyday clothing fastenings. A useful length is one you can live with comfortably. Someone else's close-up photograph is not a measurement you have to reproduce on every finger.
The American Academy of Dermatology's trimming guide describes cutting fingernails nearly straight across and gently rounding the corners with a file. It also recommends leaving cuticles alone. These are modest grooming directions, not a promise that a particular nail shape prevents every problem. Keep the distinction between the free edge you are maintaining and the skin around it. Do not keep shortening a comfortable nail merely because it still has a visible edge.
Settle your hands and the workspace first
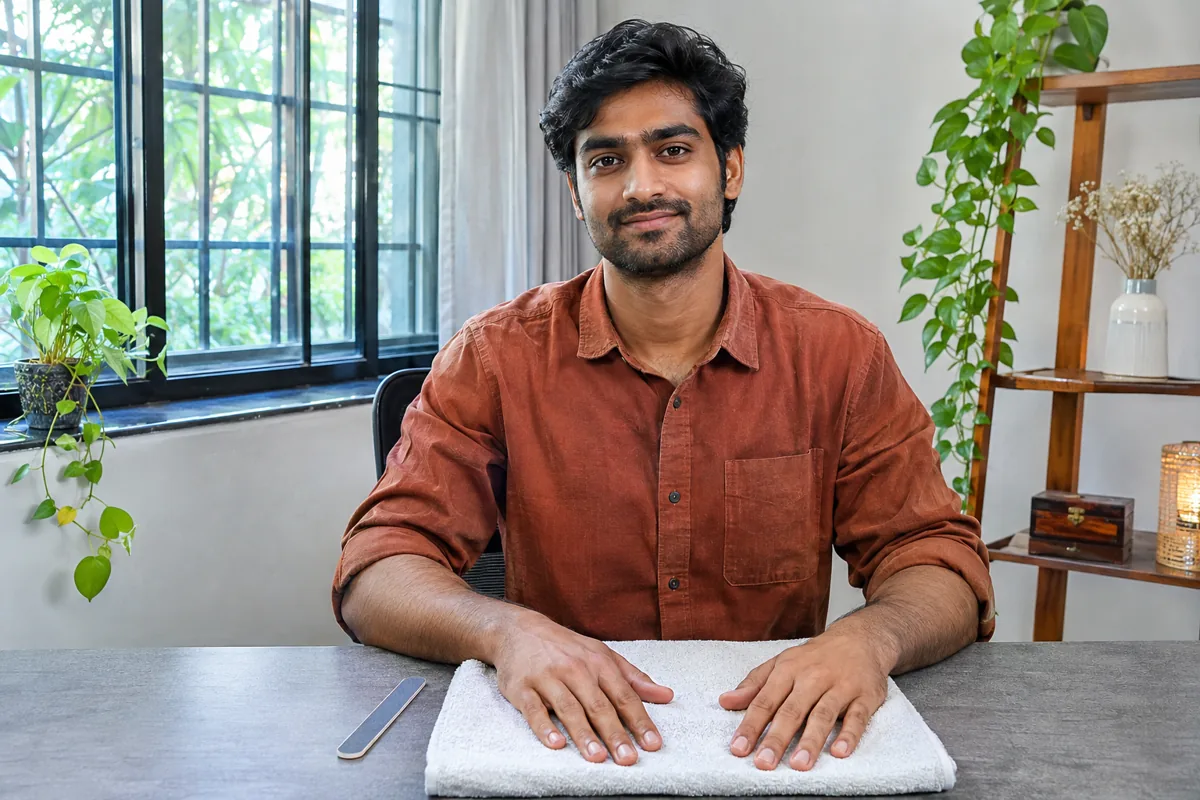
Choose a well-lit spot where you can rest your forearms and see the nail clearly. Put a clean towel or another suitable surface beneath your hands so you can collect clippings afterward. Keep your phone and anything that distracts you away from the working area. A small grooming task is easier when you are not also balancing a cup, reaching over clutter or trying to finish while walking around the room.
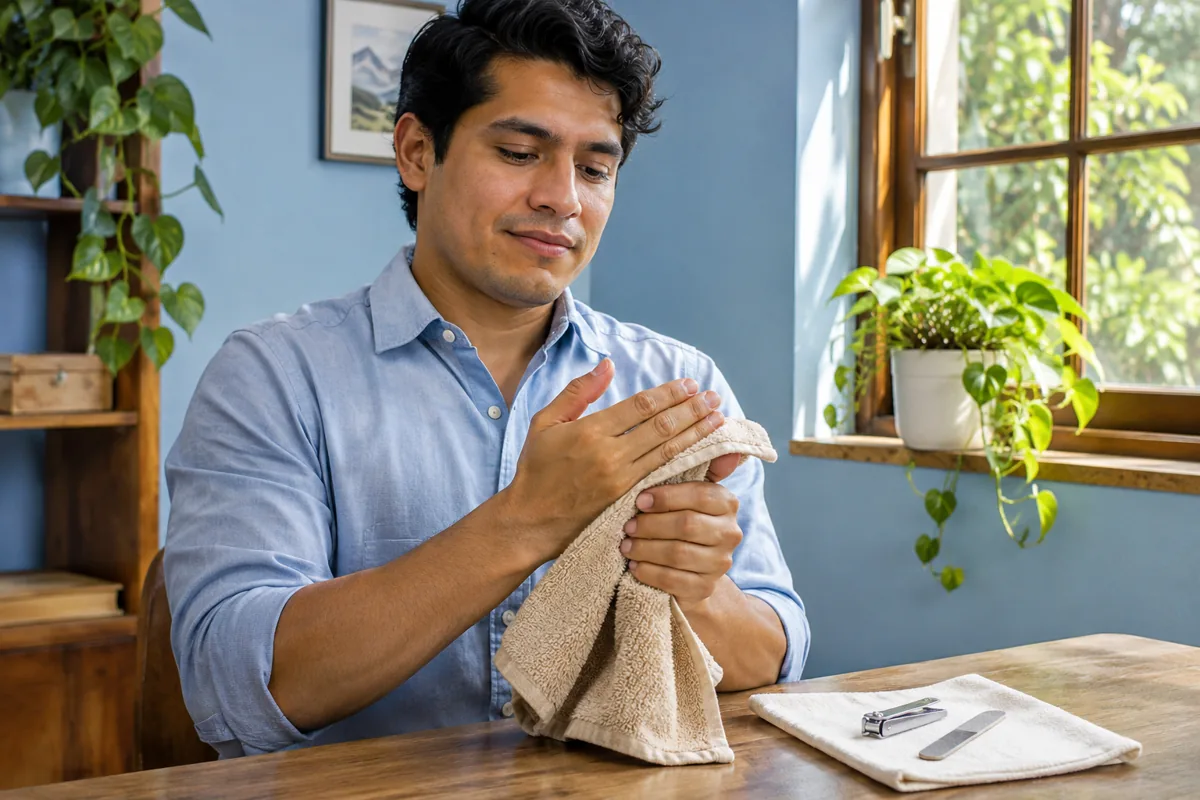
Clean your hands and settle into the task after ordinary washing or a shower if that works for you. Dry your hands sufficiently to hold the tool securely. There is no need to turn preparation into a lengthy soaking ritual or add products you do not normally use. If the hand position feels awkward, change the setup before cutting. Bringing the workspace to a comfortable position is more sensible than twisting a finger to chase the light.
Choose a simple tool you can control
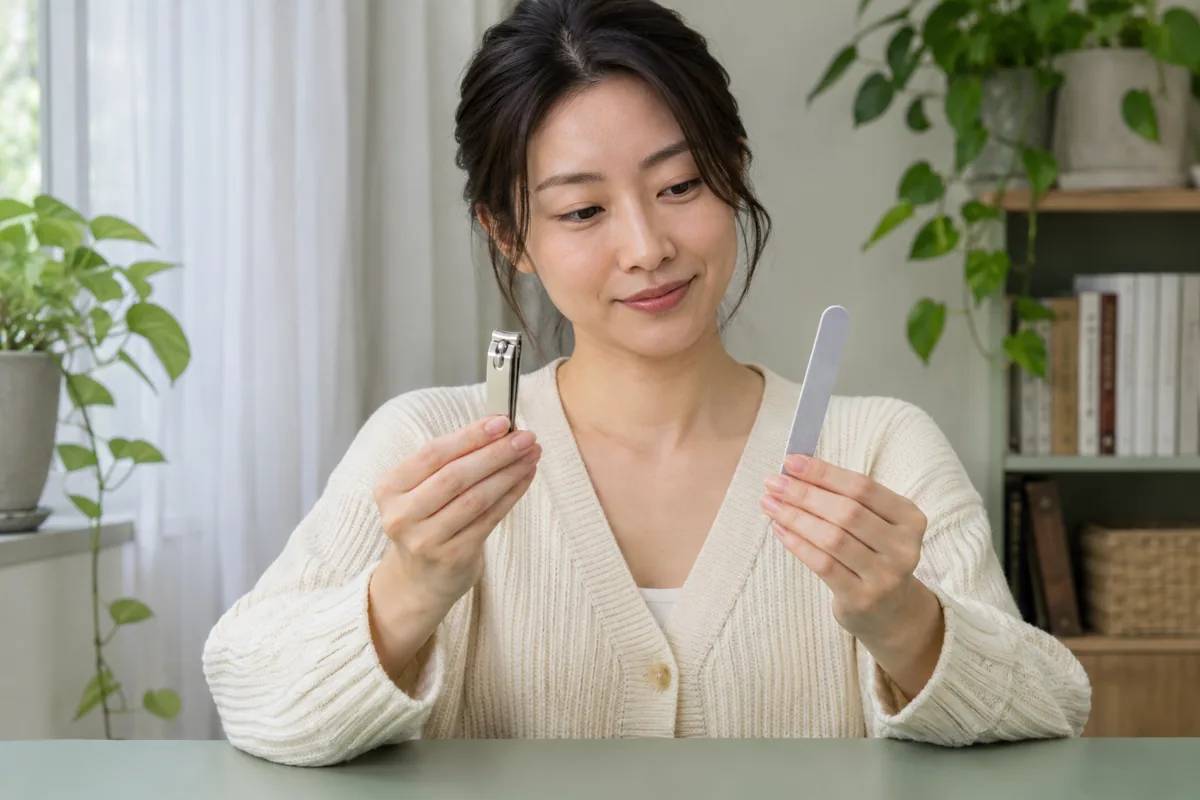
Use a personal fingernail clipper or another suitable nail tool you already know how to handle, together with a file for finishing the edge. Check the tool before using it and follow its care directions. A tool that catches, feels damaged or needs excessive force is not a reason to squeeze harder. Set it aside and choose suitable help or equipment. This guide does not recommend a brand, powered drill or special kit as necessary for ordinary natural nails.
Consider the grip as part of the choice. You should be able to see where the cutting edge is without placing surrounding skin between it. If vision, reach or grip makes that difficult, ask an appropriate professional for assistance instead of improvising with a larger blade. You do not have to prove that you can finish the task alone. Being able to control the tool is more useful than owning several tools whose purpose and handling are unfamiliar.
Shorten the edge in small, deliberate stages
Rest the hand, position the clipper on the free edge and take a small amount at a time. Move along the edge with control rather than trying to remove a broad curved piece in one forceful squeeze. Pause to inspect what remains before deciding whether another small cut is useful. Leave the attached nail and the skin beneath it out of the cutting area. There is no fixed millimeter target in this guide that every reader must reach.
Work finger by finger instead of deciding in advance that every nail needs the same amount removed. One may already be a comfortable length while another catches during ordinary use. You can leave the first alone and attend to the second. If a cut feels uncomfortable or the edge starts splitting unexpectedly, stop rather than pulling a remaining piece away. Do not bite or tear it to make the task feel complete; a problem that needs assessment is a reason to pause.
Use the file on the free edge, not the skin
After trimming, use a suitable file to smooth an uneven free edge and soften a sharp corner gently. Make controlled strokes in one direction instead of sawing rapidly back and forth. Keep your attention on the edge you can see. Filing is a finishing step, not a reason to dig down the sides, reshape the surrounding skin or keep thinning the nail until it resembles a cosmetic example. A small change may be all that is needed.
Inspect the edge under the same ordinary light rather than holding the hand at increasingly extreme angles to find another imperfection. If it no longer catches and the length feels comfortable, stop filing. Do not use the top surface as an extra area to polish smooth with the same tool. You are not trying to erase normal visible nail texture. A natural nail can be tidy without being glossy, uniformly colored or identical in outline to the neighboring finger.
Keep cuticle work out of a simple trimming session
A neat free edge does not require removing the skin at the base of the nail. The AAD's manicure-safety advice warns against cutting or forcefully pushing back cuticles. Keep that boundary clear when you arrange your kit: a clipping-and-filing task does not need to expand into a cuticle-removal session. Do not add another procedure merely because a video shows it as the usual next step or a kit happens to include another implement.
If something about a nail or the surrounding skin is painful, injured or changing, do not try to make it look normal by cutting more. Seek appropriate professional advice for that issue. This article does not diagnose discoloration, swelling or damage and does not supply a home treatment. You can leave the affected area alone and still consider the ordinary grooming session finished. Completing a whole matching set is not more important than recognizing the limits of the task.
Check the result with an everyday task
Once the free edges are comfortable, look at both hands together and then try a normal task such as typing or handling a button. The question is whether the length and edge are manageable, not whether a macro photograph would show an absolutely identical curve on every finger. Avoid rubbing the edge repeatedly against delicate clothing as a test. A normal practical check is enough to decide whether you need one small finishing adjustment or can put the tools away.
If you are organizing several grooming habits, our appearance-priority guide can help keep the list small. Nail care can be a straightforward maintenance choice rather than another appearance score to improve. You do not need a scan, a before-and-after comparison or somebody else's approval to keep a comfortable length. Record a useful preference if you want, such as leaving a little more length for a hobby, then let ordinary use tell you whether that choice works.
Finish by caring for the tools and clearing the surface
Collect clippings, clear the working area and care for each tool according to its actual cleaning directions before storing it appropriately. Keep personal tools separate rather than passing a used clipper around as a shared household shortcut. Do not invent a sterilization claim because a tool looks shiny. Cleaning, disinfection and storage are different questions, and this article does not offer a universal chemical recipe for every file, coated tool or clipper construction.
Our manual-razor care guide also separates using a grooming tool from maintaining and storing it; its particular method should not be copied onto nail equipment. Keep the directions with your own kit so the next session begins with suitable tools and an uncluttered space. There is no compulsory trimming interval here. Check the actual length and edge when needed, address what matters and stop. A finished routine can be small, comfortable and repeatable without turning natural nails into a cosmetic project.