

High vs low cheekbones usually describes where the upper cheek contour appears on the face, not how attractive someone is. A contour that seems nearer the lower eye area is often called high; a contour that seems farther down the cheek is often called low. These are informal descriptions, not a reliable binary test. Separate that apparent position from width, prominence and the shadow below it before deciding what you are actually seeing.
You do not need a ruler, a score or a perfect category to answer the practical question. Perhaps you want to understand a portrait, explain a haircut preference or stop confusing a sharp shadow with a high cheekbone. This guide gives you a short observation process that works without an app. Its endpoint is a useful description and, if you want one, a reversible styling experiment. It is not a plan to change your facial bones.
High vs low cheekbones: agree on the question
Begin by asking what the words mean in the conversation you are having. Someone may say high when they mean sharply defined, while another person means a contour close to the eyes. A third may be talking about a face that looks wide through the cheeks. Those observations are not interchangeable. Replace the label with a sentence: the upper cheek contour looks close to the lower eye area in this view. That sentence identifies a location and leaves room for uncertainty. It does not claim to measure the skeleton beneath the visible surface.
Avoid treating an imaginary horizontal line through the nose as a universal pass or fail boundary. A different expression, head angle or choice of visible edge may change where you place that line. If the contour is not clear, say that it is unclear rather than assigning the opposite category. Many faces do not invite a strong high or low description. The purpose of looking is to understand one visible feature, not to force every person into two groups. You can finish the observation with a middle or uncertain answer.
Keep four observations separate
Use four separate questions. Position asks where the upper cheek contour appears vertically. Width asks how far the sides of the cheeks extend in the overall face outline. Forward prominence asks how noticeable the region looks in an angled view. Surface contour asks whether the transition into the lower cheek appears rounded, gradual or more distinct in that photograph. A wide face is not automatically a face with high cheekbones, and a crisp visible contour does not settle its vertical position. These are descriptive prompts, not four numbers to combine into a rating.
A simple note is more useful than a dramatic conclusion. Write upper contour fairly close to the eyes, outline broad through the cheeks, and shadow strong only from the side. Keep each observation attached to the view that produced it. If you are also studying a facial width-to-height ratio, remember that a width comparison answers a different question from cheekbone position. Neither description proves that a haircut, product or facial exercise will change your underlying structure. Start with the visible feature and leave intervention claims out of the note.

Look at the region, not the darkest stripe
Use the whole face to orient yourself, then look at the upper outer cheek area. Do not select the darkest diagonal stripe simply because it is easy to see. That stripe is an appearance in the image; it is not an exposed bone edge. Notice the transition below the eye and toward the side of the face without drawing a precise anatomical border. A mirror can provide an ordinary additional view, but pressing hard, repeatedly pinching the cheek or tracing the area with a tool will not turn this into a validated classification test.
The FISWG facial feature list, version 2.0 of 11 September 2018, distinguishes cheekbone prominence from cheek shape in its descriptive framework. It does not provide an attractiveness scale or a consumer high-versus-low cutoff. Here that distinction is useful only as a reminder to keep observations separate. Do not use the document to imply that a casual selfie review is a forensic assessment. A cautious personal note can say that a contour is visible, soft or difficult to judge, without claiming expertise or a skeletal measurement.
Give the observation a reasonable reference
If you choose to use photographs, start with an unfiltered original that includes the whole face. Put the camera roughly at eye height and at a comfortable distance rather than holding it very close to one cheek. Keep the expression relaxed and the head upright. Use a straightforward front view, then an ordinary three-quarter view for context. You are not collecting enough information for a diagnosis. You are reducing obvious distractions so that your description refers to the same part of the face in each picture, instead of to a crop or an accidental pose.
Record the conditions in plain language: front view, relaxed face, broad window light. One short note prevents later confusion when a dramatic evening portrait appears more sculpted. If an app fits your workflow, MogRise's photo guide explains using clear front and profile images for an explained analysis; it does not establish a cheekbone-height measurement. You can also complete this guide with your own reference and notes. The choice of tool is secondary to understanding the question, and repeatedly uploading near-identical pictures is not necessary to reach a sensible descriptive answer.

Check what light and expression contribute
A side-lit portrait may make the cheek transition look very distinct, while a broad frontal light can make it look softer. Before naming the feature, ask whether you are describing the contour or the contrast around it. Compare ordinary conditions rather than searching for the most flattering or least flattering frame. Do not call a deeper shadow proof that the cheekbone became higher. Keep the original files and avoid using an edited contour as evidence. The useful result is recognizing when a photograph makes an observation easier or harder, not deciding that one lighting style tells the whole truth.
Expression belongs in the same check. A wide smile and a relaxed mouth show different arrangements of visible cheek tissue. Do not compare those expressions as if only the cheekbone changed. If your reference is unclear, take one calm additional view or leave the answer open. There is no need to keep working until you obtain a category you prefer. Set a short stopping point before you begin, especially if close inspection tends to make ordinary differences feel like problems. A face remains a moving face, not a frozen diagram with one mandatory contour.

Face shape does not settle cheekbone height
An outline label such as oval, round or diamond is a broad shorthand for how a face appears in a particular view. It does not determine where the upper cheek contour sits vertically. You may notice width through the cheek region and still be uncertain about height. Keep that uncertainty rather than importing the answer from a face-shape chart. The same applies to a celebrity comparison: a familiar name cannot substitute for matching camera angle, expression and the feature being discussed. Use your own reference instead of trying to win a resemblance argument.
Look back at the full face after studying the cheek region. The relationship with the eyes, nose, hair and jaw is part of the overall presentation, but it need not be compressed into a single ideal. The facial harmony guide explains why individual observations belong in context. A FaceScore or PSL-like number, if you encounter one, is planning context rather than objective human worth. Neither a number nor a chart makes high cheekbones universally better. A descriptive feature can be interesting without becoming an instruction to correct your appearance.
Turn the description into one reversible choice
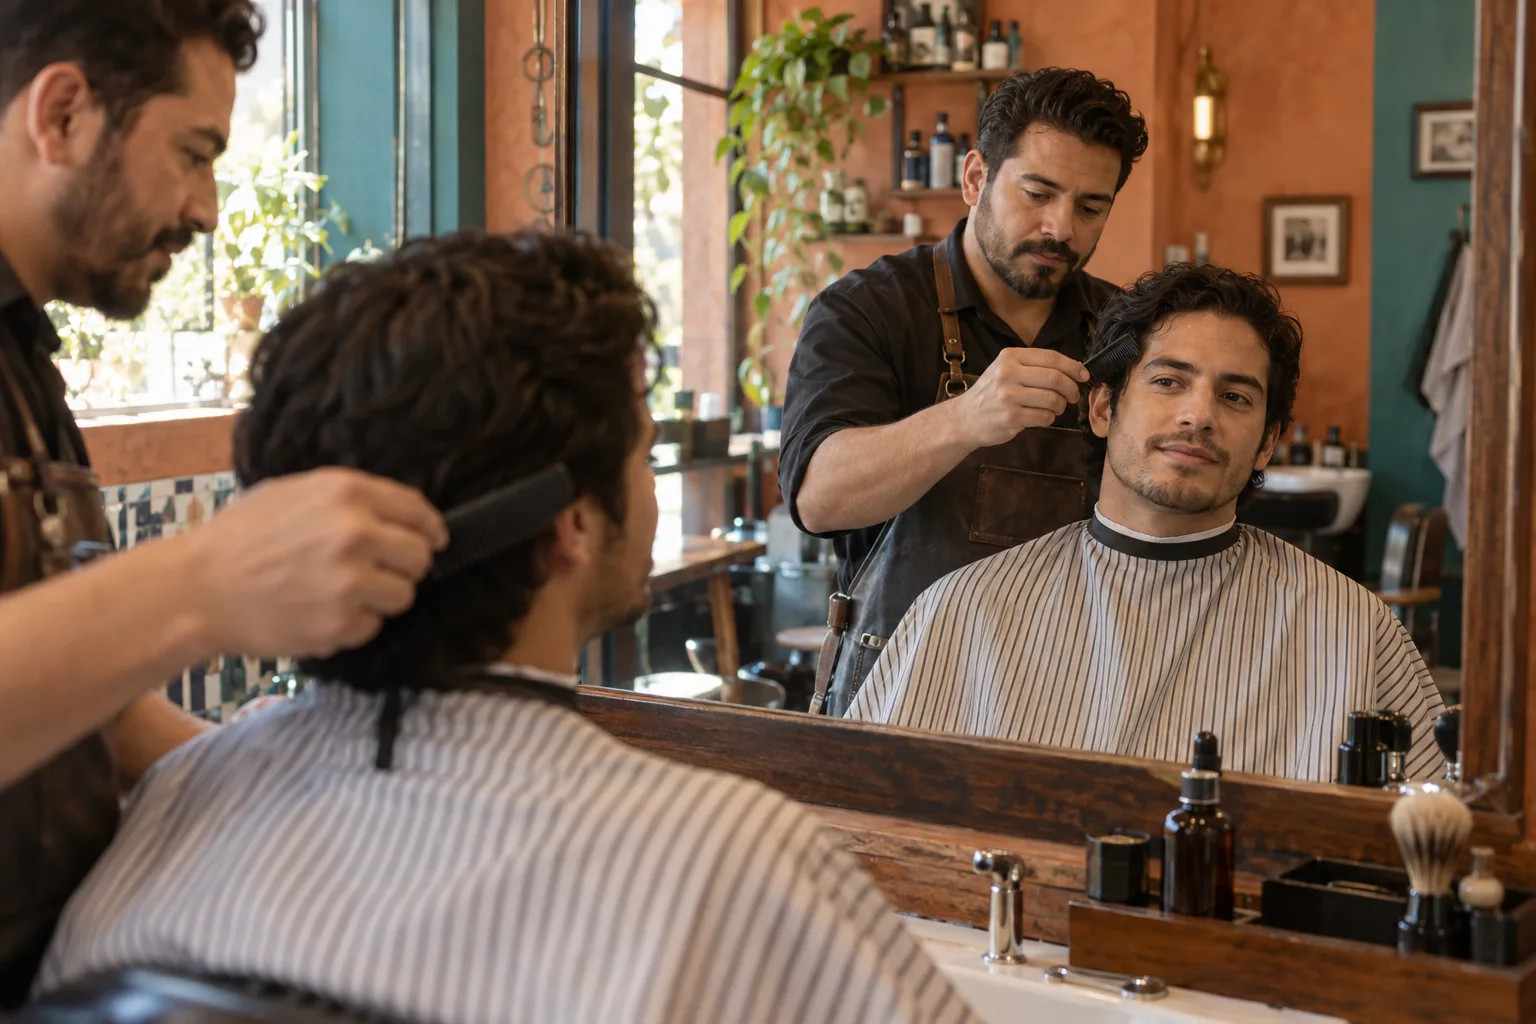
Choose a real styling question before changing anything. For example, do you prefer your hair tucked back so the upper cheeks remain visible, or a softer side section that frames the face? Try both with the hair you already have, in the same ordinary setting. Evaluate the entire look at conversational distance, not only the cheek crop. If you wear glasses, comfort and fit come first; cheekbone terminology is not a reason to buy a frame that feels wrong. You are testing a preference, not proving a formula about your anatomy.
Keep the experiment reversible and small. A temporary hair arrangement, a different portrait light or a familiar makeup placement can change presentation without claiming to move a bone. Use product directions where relevant and do not add a new purchase unless the trial identifies a genuine need. Avoid using this classification as a reason for restrictive dieting, aggressive manipulation or an irreversible cosmetic decision. If the concern involves pain, a new physical change or a health question, a styling guide is not the right assessor. Bring that question to an appropriately qualified professional instead.
Finish with an honest description
Close the process with three short lines: what you can see, what remains uncertain and whether any practical choice follows. An example is upper cheek contour looks relatively close to the eyes in relaxed views; prominence is harder to judge in flat light; I prefer the hair tucked back for this portrait. That is enough. You have answered the original question more clearly than with an unexplained high label. If no styling decision follows, you can keep the description and stop. Learning a word does not obligate you to create a new appearance project.
Return to the note only when there is a specific reason, such as discussing a haircut or selecting a photograph. Do not make daily cheekbone checks part of the routine. The observation should save confusion and attention, not generate more checking. What matters is that you can distinguish position from width and visual definition, describe the limits of the image, and make your own modest choice. You do not need a beauty verdict to decide how you want to frame your face today.