
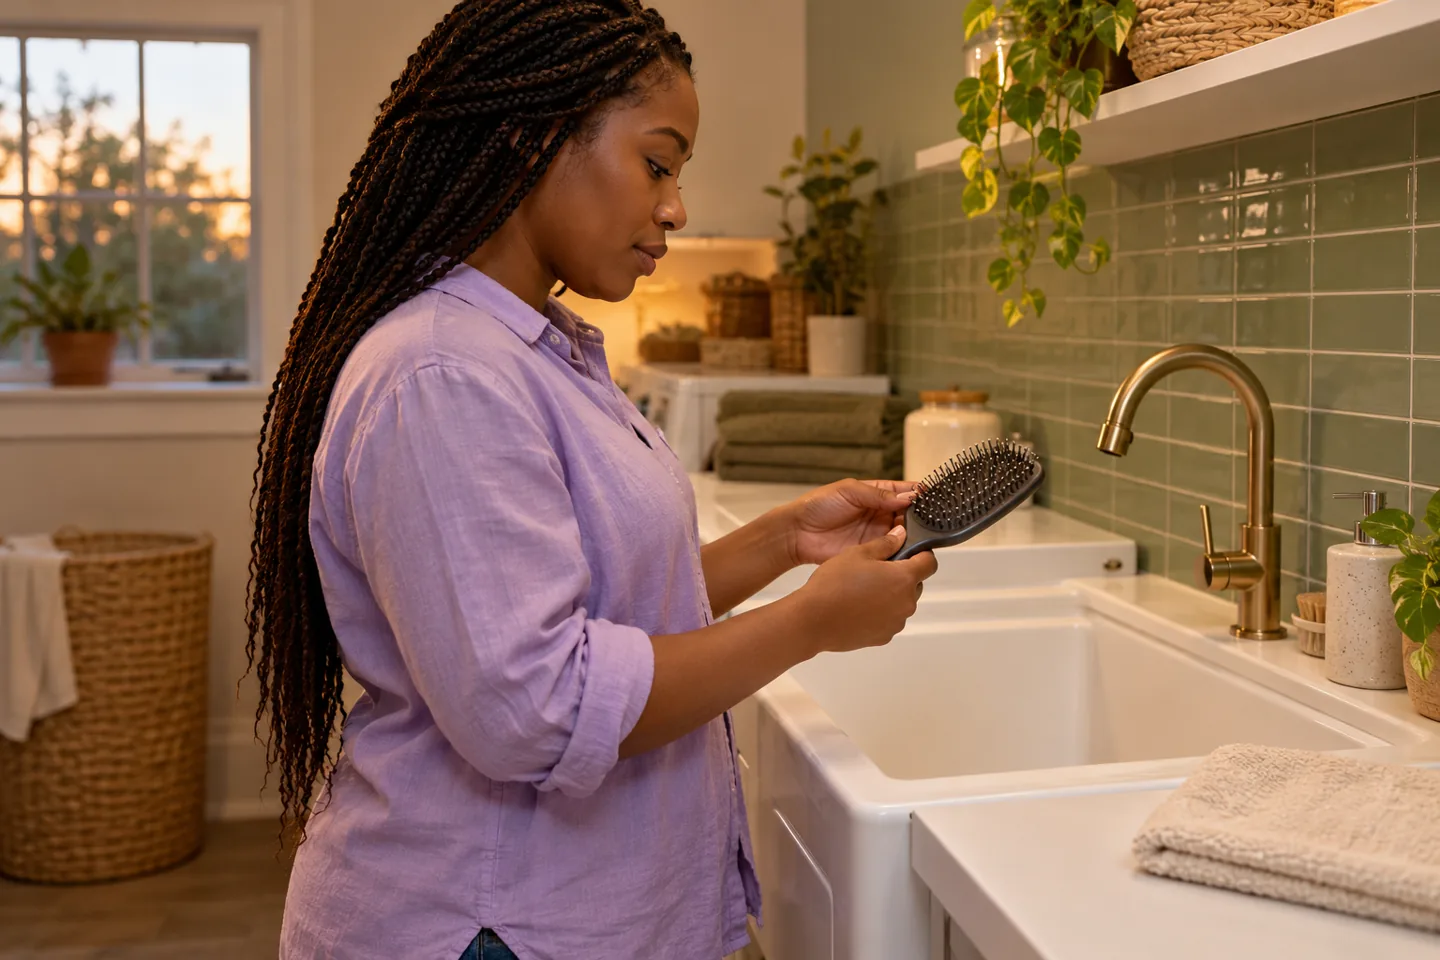
To clean a hairbrush, remove loose hair first, identify its construction and follow the care instructions for that exact model. Washing, soaking and taking a brush apart are different permissions. If a method is approved, finish it with the specified drying step before putting the brush away. More water or stronger scrubbing is not automatically a better clean.
This guide concerns your own manual hairbrush at home. A wooden handle, a soft cushion, a sealed body and a removable pad can look similar from above while needing different treatment. Heated brushes, powered tools and professional equipment need their own instructions. The aim is an ordinary, usable tool and a repeatable place to care for it, without turning visible fluff into a judgment about your hair or your appearance.
Clean a hairbrush by identifying the whole tool
Start with the dry brush on a clear surface. Look at the back, handle, base and teeth rather than only the hair caught on top. Is the body one continuous piece, or is a flexible pad set into a separate frame? Are there seams, vents, glued pieces or a wooden finish? These observations help you find the correct instructions; they do not prove that a brush can be submerged. A brush advertised for wet hair is not necessarily designed to sit underwater during cleaning.
Find the model name on your receipt, saved order or packaging if it is available. Search the manufacturer's support pages using that name and the word care. Check whether an instruction covers the complete brush or only a removable component. If you cannot identify it, begin with gentle removal of accessible loose hair and ask the maker about the next step. Keep a screenshot or bookmark of the actual care page so that next time you are not choosing between unrelated cleaning videos.
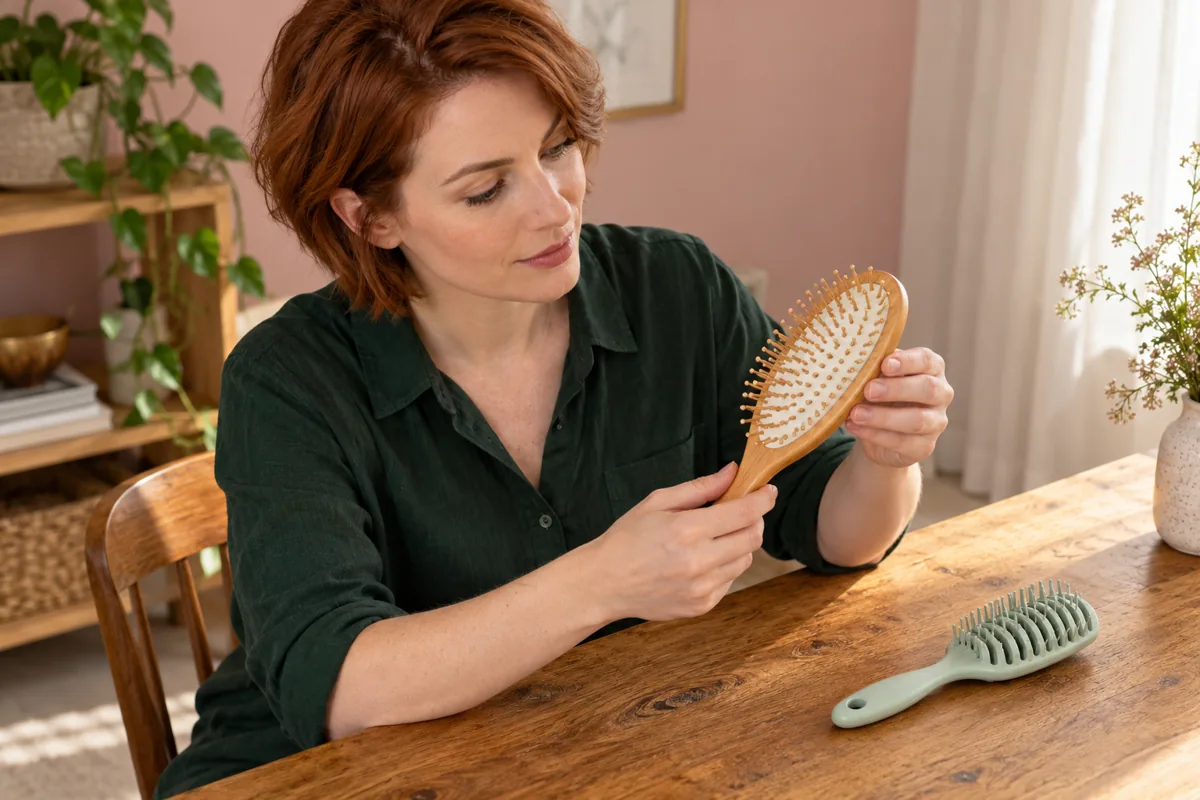
Remove the hair before adding a cleaning product
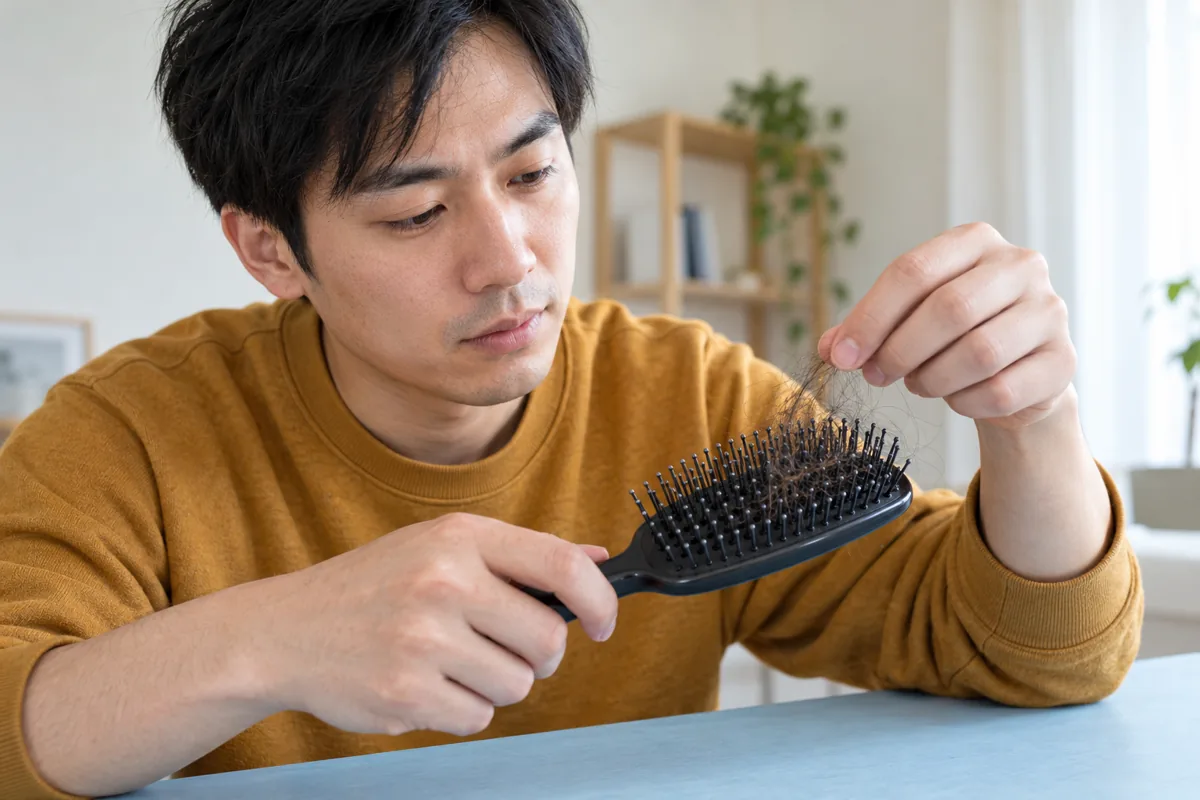
Hold the brush by its handle or solid frame and lift accessible strands in small amounts. Avoid yanking a whole tangled layer against the teeth. Work in good light with the brush resting securely when necessary. Your first question is whether the hair releases easily, not whether you can make the base look new in one pull. Put removed strands directly into the bin rather than scattering them around the sink and trying to wash them away.
A tool intended for clearing your particular brush may help, but do not force a sharp improvised point underneath a cushion. Stop if pins move, the pad lifts or a seam opens. You are clearing what is caught between the parts, not testing how far those parts can bend. Once loose hair is removed, inspect the surface again. A few individual fibers and a sticky film are different jobs; knowing which remains helps you avoid repeatedly scraping a brush that needs a permitted cleaning method instead.
Use a maker's method within its stated scope
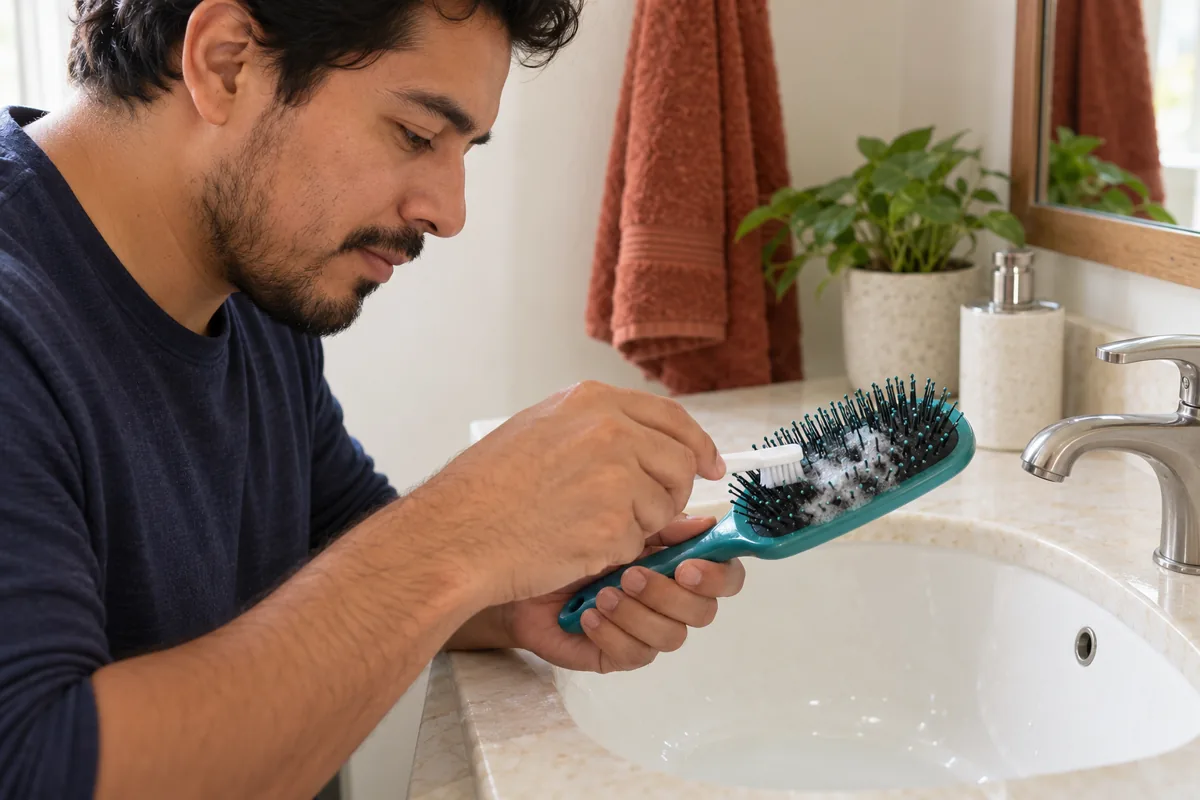
Tangle Teezer's UK cleaning FAQ describes removing loose hair, gently cleaning between the teeth with a clean toothbrush and warm soapy water, rinsing and allowing natural drying. That is guidance for its own brushes, not permission to wash every wooden, cushioned or electrical tool in the same way. Read your exact model's directions before transferring a step from another design.
Set out only what the approved method needs. Keep the care page nearby and separate the hairbrush from the small tool used to clean it. If instructions say to clean a removable part, identify how it is meant to release before attempting removal; a visible join is not an invitation to pry. When directions are missing or contradictory, ask a specific question such as whether water may reach the pad. An unanswered construction question is a reason to pause that step, not to compensate with a harsher product.
Keep an approved wash separate from experimentation
When the model permits washing, use the products and approach its maker specifies. Work where you can support the brush, see what you are doing and keep unrelated tools clear. Do not combine several online recipes because the first pass leaves a mark. A homemade mixture, very hot water, a dishwasher or an alcohol spray is not an interchangeable upgrade to an ordinary care instruction. This article does not prescribe a disinfectant recipe or a universal soaking time.
Give yourself a clear finishing sequence before beginning: the permitted cleaning step, any specified rinse, then the drying arrangement. Check the parts the instructions tell you to clean rather than scrubbing every recess indiscriminately. If a mark remains, decide whether it is removable residue or something to ask the maker about. Repeating increasingly forceful attempts can leave you unable to distinguish the original concern from damage caused during cleaning. You do not need a bright, factory-new finish to justify ending an ordinary care session.
Plan drying before the brush goes back into a bag
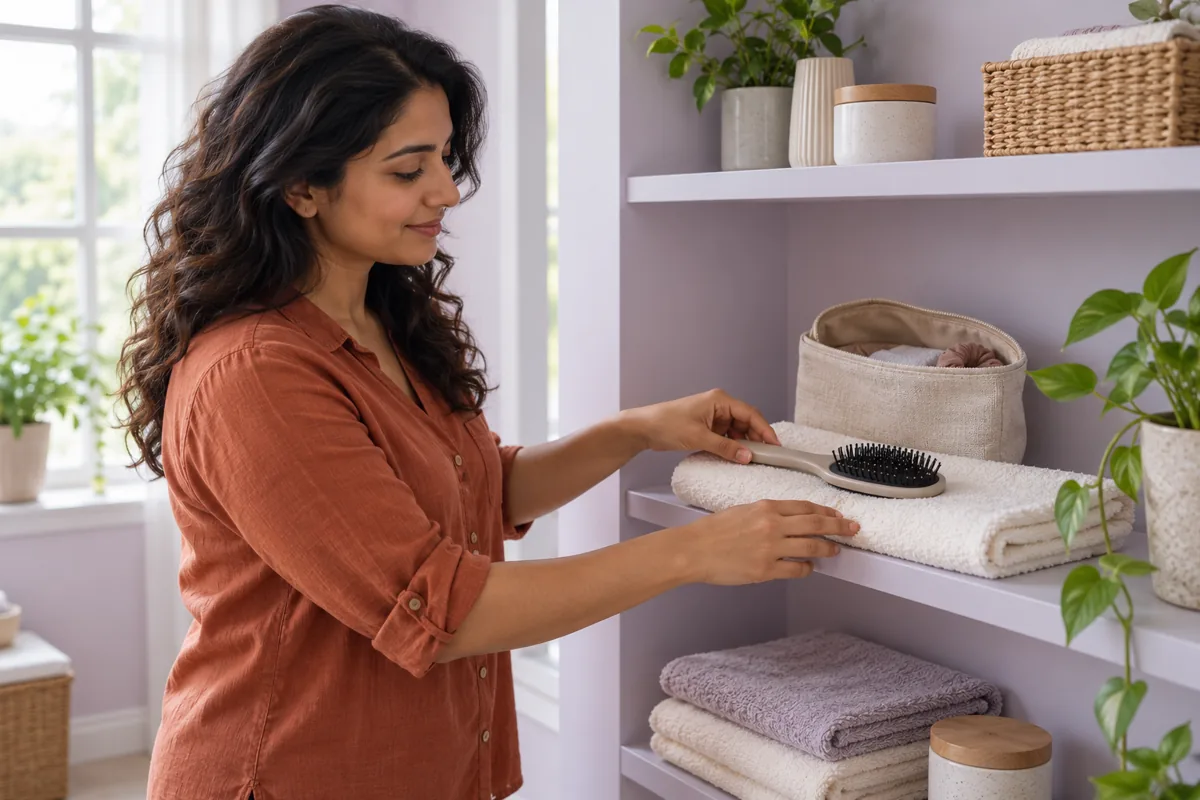
Leave an appropriate place ready so the brush does not end up immediately inside a closed pouch. Keep it separate from the tools waiting to be cleaned, and follow its maker's position and conditions for drying. A handle that feels dry does not by itself settle what is happening around the base. Avoid inventing a fixed number of minutes that promises every brush is ready to store. Check the relevant parts and allow the time that your design and conditions require.
The Brazilian Tangle Teezer care guide describes air drying and cautions against heat sources. Its illustrated written sequence uses teeth down, while the UK FAQ says teeth up. Those regional instructions should not be flattened into one supposedly universal orientation. Follow the guidance for your own model and ask the manufacturer if it is unclear. The practical point for your routine is to reserve drying time instead of starting a wash just before the brush must be packed.
Distinguish brush upkeep from your hair routine
Cleaning the tool and deciding how to pass it through your hair are separate tasks. If a brush catches, first check for visible trapped strands, damaged parts or an unsuitable tool. Do not assume extra force is needed because you have just cleaned it. Our guide to detangling hair explains how to organize small sections and stop when a snag will not release. A clean tool does not remove the need to handle your actual hair gently.
Product residue can also prompt a useful question about the wider routine without demanding a complete overhaul. Put the brush back into ordinary use only when it is ready, and keep your familiar styling approach while you assess whether the practical problem remains. If you are separately choosing between hold and finish, the guide to hair clay, paste and cream addresses that decision. Change one relevant thing at a time; replacing every product, brush and styling habit together makes it hard to know what solved the inconvenience.
Choose a maintenance cue you will actually notice
Build the next check around something already in your week: putting away grooming tools, clearing a shelf or preparing a travel bag. At that point, look for caught hair, residue and the condition of the brush. Use the manufacturer's recommended interval where one is given, and adapt the reminder to your actual use. A calendar reminder is an organizational aid, not evidence that every brush becomes unsafe on the same day. Avoid waiting for an enormous buildup simply because a reminder has not sounded.
Keep a modest care kit together if that makes the task easier: the permitted cleaning tool, a clean drying surface and the saved instructions. Make the setup easy to put away again. You do not need a photograph after each session or a running score of how clean the brush looks. For example, an adult who uses one styling brush daily might check it while clearing the bathroom shelf, then choose a separate time for any approved wash so drying is not rushed.
Know when the next step is a question
Pause ordinary use if the brush has a loose or broken part, a sharp damaged surface or a change you cannot explain after cleaning. Keep the actual tool available when contacting support, and describe what you can see: the model, which part moves, what method you used and whether the issue existed before washing. Do not conceal damage under a cover or assume that another wash will repair it. Whether a component can be replaced depends on the design and the maker's advice.
End with one clear decision: ready for ordinary use after the specified care, waiting to finish drying, or set aside for advice. None of those outcomes is a face-analysis result or a personal failing. If grooming has become frustrating, reducing one small maintenance obstacle may be enough for today. Put the instructions somewhere findable, leave the brush in its appropriate place and return to the rest of your day rather than repeatedly checking it for an imagined perfect finish.