

Razor burn after shaving is usually easiest to reduce by changing the process, not by adding more products. Soften the beard with warm water, use enough slippery shaving cream or gel, follow the direction of hair growth, keep every stroke short and light, and finish with a cool rinse plus a plain moisturizer. That sequence lowers unnecessary scraping while still giving you a deliberate, clean beard line.
The useful goal is not the closest possible shave at any cost. It is a repeatable result that looks neat from normal distance and leaves the face and neck comfortable enough for the rest of the day. This independent guide helps you identify where irritation enters your routine, change one variable at a time and choose a shave that supports your grooming style rather than fighting it.
Why razor burn after shaving starts before the blade moves
Razor burn is the immediate hot, tight, itchy or blotchy feeling that can appear after a blade passes over the skin. It is different from small ingrown-hair bumps that develop as cut hairs grow back. For a practical routine, that distinction matters: immediate irritation points first toward friction, pressure, repeated passes, dry preparation or a product that does not suit the session.
Think of every shave as contact between skin, hair, lubricant and a cutting edge. Dry or stiff beard hair asks the blade to do more work. Thin lather disappears before the pass. A dull edge pulls, while a clogged head skips. Pressing harder then compounds the problem. The calmest improvement usually comes from fixing this chain before buying a complicated aftershave collection.
The American Academy of Dermatology recommends wetting skin and hair, applying shaving cream or gel, shaving in the growth direction and rinsing the razor after each swipe. Those steps create a useful baseline because each has a visible purpose. Once they are consistent, you can tell whether the remaining issue is a difficult neck pattern, an overly close second pass or a product choice.
Map beard growth on the cheeks, jaw and neck
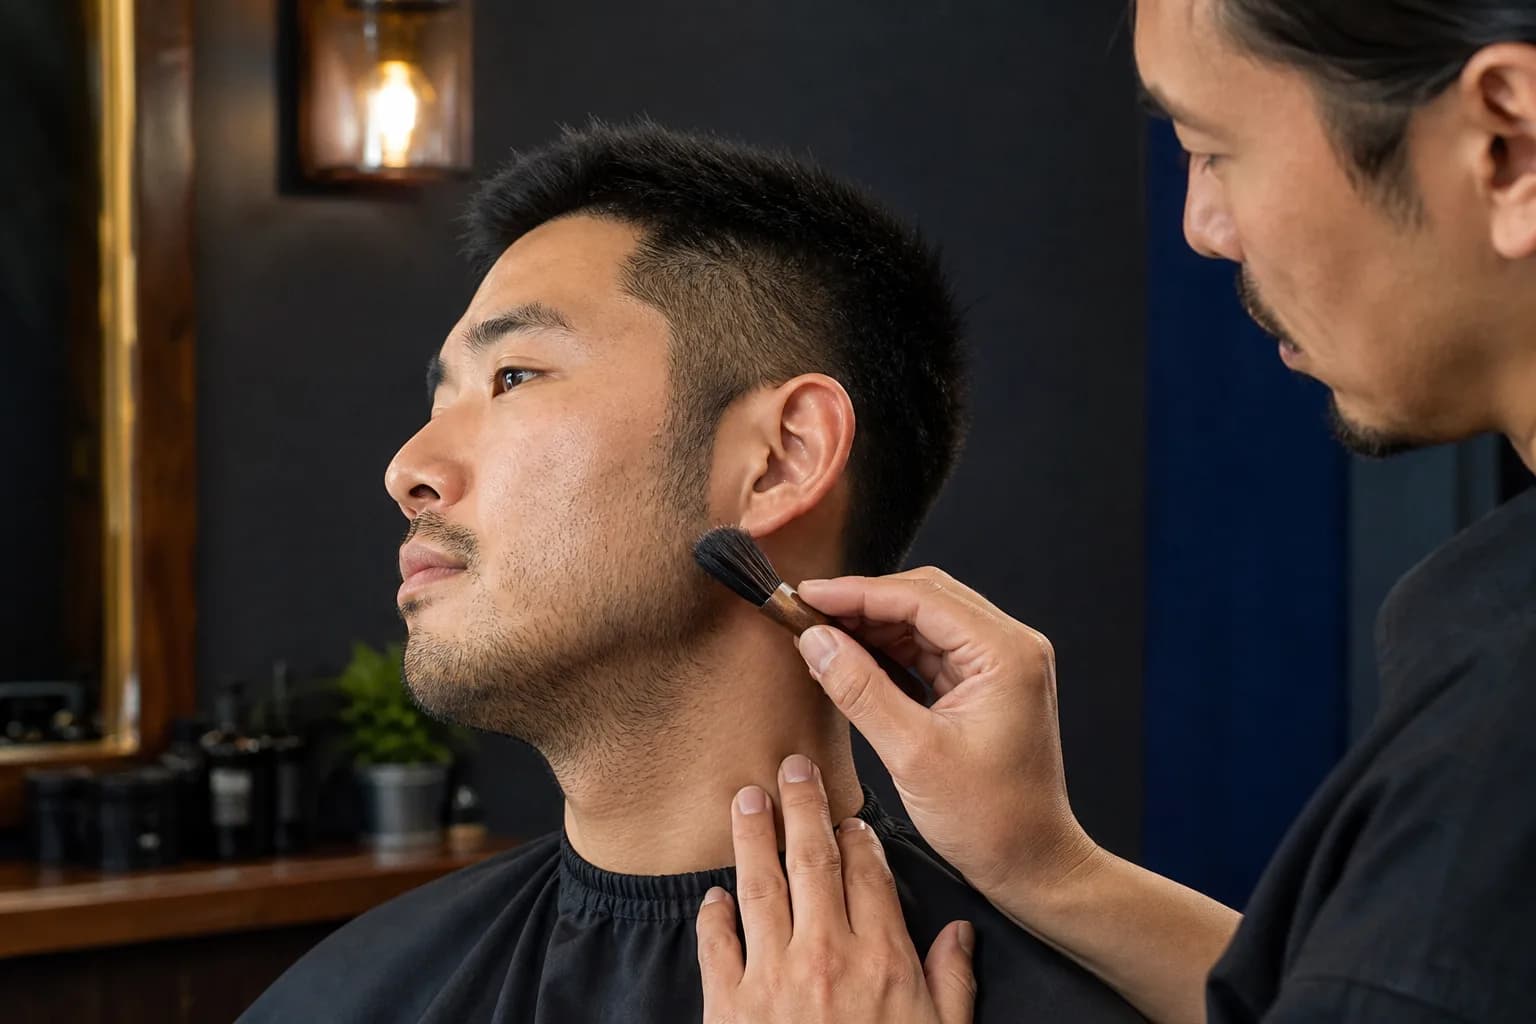
Hair rarely grows in one universal downward direction. Cheek growth may angle toward the jaw, the area beneath the chin may fan outward, and neck hairs can turn sideways or upward. Run clean fingertips over one or two days of stubble: the smooth direction follows the grain, while the rough direction pushes against it. Make a mental map before the skin is covered with foam.
Use three zones rather than trying to memorize every hair: cheeks and upper lip, jaw and chin, then the full neck. Notice where the direction changes. A small mirror at side angle can help around the jaw corner, but keep the head neutral enough that you do not stretch the skin into a misleading position. Your first pass should follow each local zone, not one rigid direction for the entire face.
Mapping also improves beard design. If one neck patch grows in a tight swirl and reacts badly to a very close shave, a slightly higher, clean neckline may look sharper and require fewer passes. Likewise, controlled stubble can frame a strong lower face without demanding daily skin-level removal. The best boundary balances appearance, real growth and the effort you can repeat.
Prepare beard hair without overworking the skin
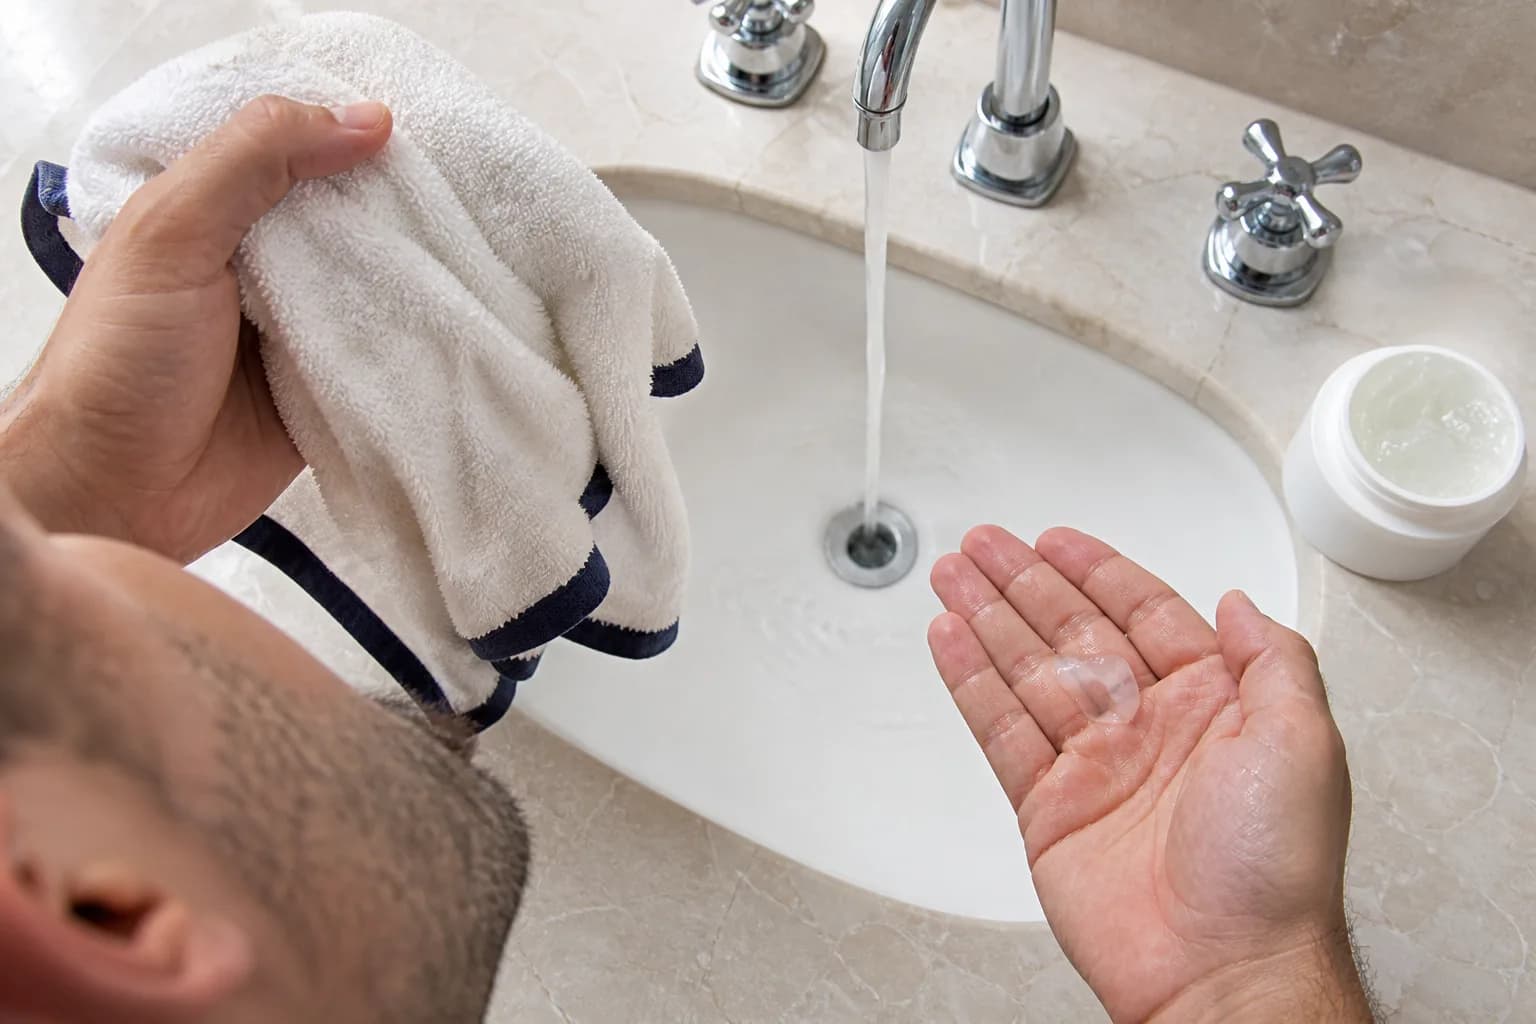
Start with clean hands and lukewarm water. A shower immediately beforehand is convenient, but a warm damp cloth held briefly against the beard can also soften the session. The aim is flexible hair and comfortable skin, not intense heat. Very hot water can leave the face feeling stripped before the razor even arrives, while scrubbing adds friction to an area you are about to shave.
Apply enough cream or gel to cover the hair with a continuous slippery layer. Work it in gently and give it a moment to coat the stubble. If the product dries while you handle another task, add water or reapply rather than dragging a blade over a patchy film. A transparent gel can help you preserve a precise cheek or neck boundary, but glide matters more than format.
Skip aggressive exfoliation immediately before a shave. The blade already removes material from the surface as it cuts hair, so stacking a rough scrub into the same minute can create unnecessary contact. If gentle exfoliation belongs in your routine, place it on a different evening and judge it separately. Preparation should make the next step easier, not leave the skin feeling polished raw.
Prevent razor burn with short, light shaving strokes
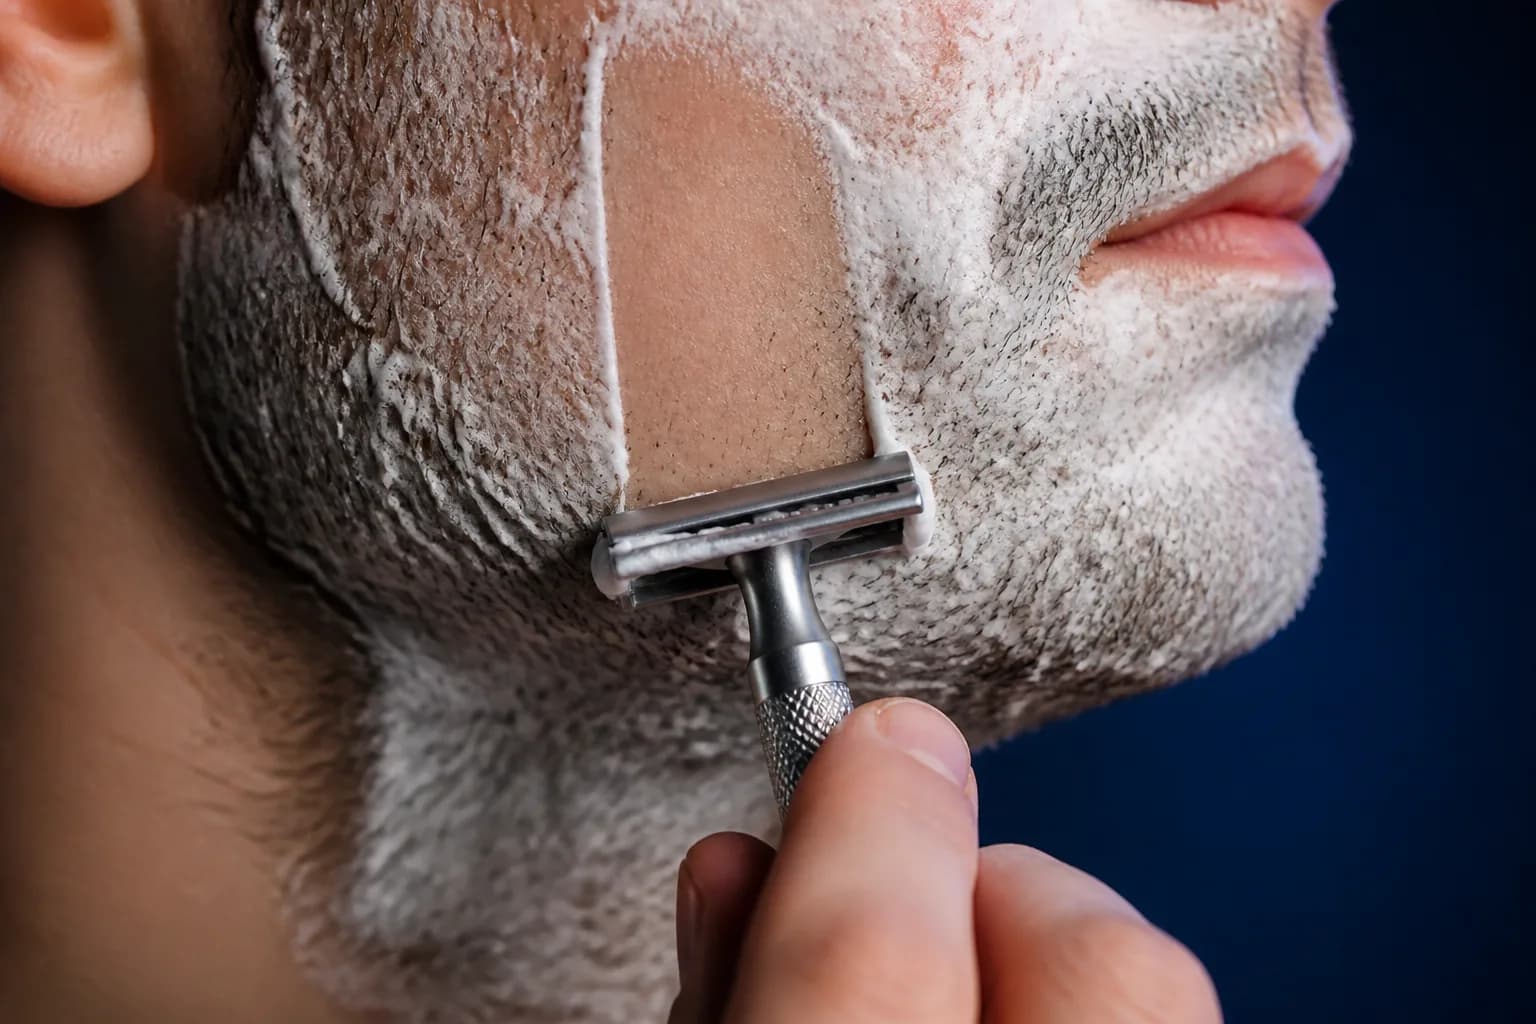
A sharp, clean blade should cut without needing the handle to be driven into the face. Hold it securely, let the head meet the skin at its intended angle and use short strokes with light pressure. Rinse away hair and lather frequently so the cutting edge remains clear. If one area still feels resistant, restore lubrication instead of adding force.
Begin with the grain. On the face this may look mostly downward, but the neck often requires sideways or upward movements. Avoid pulling the skin tight; a highly stretched surface lets the hair retract below the opening after the pass and encourages an unnecessarily close cut. Use your free hand only to make the surface steady and accessible, not drum-tight.
Limit repetition. One careful first pass followed by a small targeted cleanup is usually more readable than three full passes over every area. Check the result from normal mirror distance before chasing invisible roughness with dry touch-ups. A clean outline and even short finish can look intentional without removing every last trace of texture.
Choose closeness by zone instead of forcing one finish
Your cheeks, chin and neck do not have to receive identical treatment. The cheeks may tolerate a clean blade pass, while a swirl beneath the jaw looks better and feels calmer when trimmed just above skin level. Treating zones differently is not an incomplete shave; it is a deliberate response to hair direction, density and how visible each area is in the finished frame.
If you use a manual razor, stop after the with-grain pass and inspect. For a closer result, try a light across-grain cleanup only on zones that stayed comfortable. Against-grain shaving creates the closest feel, but it also increases the chance of irritation and ingrown hairs for many people. Reserve it for areas that genuinely need it, rather than making it the default across the neck.
An electric shaver or trimmer can be the better tool for an easily irritated zone because it leaves a tiny amount of length. The tradeoff is less glass-smooth skin, yet the visible result may still be cleaner when redness and bumps are reduced. Compare the full face and neckline in ordinary light, not only the texture you can feel with a fingertip.
Build a simple post-shave routine
Rinse away every trace of cream and loose hair, then use cool or comfortably cold water rather than an extreme temperature. Pat with a clean towel; do not rub the freshly shaved surface. If the face feels warm, hold a cool damp cloth against it for a short interval. The point is a calm transition, not another vigorous treatment.
Apply a modest layer of plain moisturizer while the skin is slightly damp. Fragrance, strong alcohol and a long stack of active products can make it harder to identify what caused the sting. A simple finish gives you a clear comparison from one session to the next. If a product consistently burns, record that result and remove it from the shaving window.
Clean the razor thoroughly, let it dry in open air and store it away from standing shower water. Replace a blade when it begins to tug, skip or require extra pressure rather than relying only on a calendar. Cleveland Clinic's medically reviewed overview also emphasizes moisture, lubrication, growth direction, light short strokes, rinsing and dry storage as practical prevention steps.

Troubleshoot razor burn on the neck with one-variable tests
When irritation keeps returning, do not replace the razor, cream, aftercare and technique in one session. Pick the most likely source and hold everything else stable for several shaves. Start with pressure and pass count because they cost nothing to change. Then test growth direction, blade condition, lubricant and post-shave product in separate rounds.
Use a small routine log: date, tool, blade age, preparation, direction by zone, number of passes and how the skin felt immediately and the next morning. You do not need a skin score or daily close-up. A few plain notes reveal whether the problem concentrates beneath the jaw, appears only after against-grain cleanup or follows one fragranced product.
A repeatable seven-step routine for a calm, clean shave
First, check the growth direction on dry stubble. Second, wash your hands and soften hair with lukewarm water. Third, spread an even lubricating layer and let it sit briefly. Fourth, shave by zone in the direction of growth with short light strokes. Fifth, reapply lubricant only where a targeted cleanup is genuinely useful.
Sixth, rinse completely, use a cool cloth if wanted, pat dry and apply one plain moisturizer. Seventh, rinse and dry the tool, then note any area that required pressure or repeated contact. The next shave should adjust that one point. This routine stays short because good technique removes the need for recovery steps piled on top of avoidable friction.
Judge the result at conversation distance: balanced beard edges, a clean neck boundary and calm-looking skin. Keep the version that is easy to repeat on an ordinary morning. A thoughtful shave supports the rest of your grooming because it creates a stable base for beard shape, skincare, clothing and photographs without demanding that every session be perfectly smooth.
- Map the grain on dry stubble
- Soften hair with lukewarm water
- Apply an even lubricating layer
- Use short light strokes with the grain
- Limit cleanup to selected zones
- Rinse, pat and moisturize simply
- Clean, dry and review the tool