
The facial midline is a reference for describing where features sit in a front view. If it looks tilted or off centre in a photo, first check the camera and head position. Then identify the actual landmarks the observation compares. The middle of the frame, the apparent centre of the face and the seam between the front teeth can occupy different places. Once you know which reference someone means, you can decide whether a fresh portrait would clarify the observation.
This comes up when one picture seems balanced and another makes the nose or chin look shifted. A portrait records a three-dimensional face from one position. It also records a particular moment in your expression. Treat the first picture as a clue. A second picture taken from the same height and distance with a comfortable, straight-on pose can help you see which detail repeats and which belongs to the setup.
A facial midline depends on the chosen landmarks
Start by reading the words around the line. A portrait guide may mean an imaginary line that helps place the nose and mouth. A dental paper may define an axis using particular soft tissue landmarks and compare it with the contact between the upper front teeth. Someone cropping a profile picture may mean the vertical centre of the image. Each definition serves a specific task, so a line can be useful in one setting and distracting in another.
If a diagram uses a feature near the forehead and a point under the nose, it is describing the alignment of those landmarks under that method. If it uses the chin as its lower reference, the result can look different. Even picking the exact location of a landmark in a picture can be tricky when light fades across the skin or hair covers the edge. Our guide to facial landmarks explains how to read points in a photo and why different methods can choose different references.
Avoid treating a line drawn through your portrait as an instruction to line up every feature. A useful observation is specific: “The apparent centre of the chin sits a little to the right of the point under the nose in this photograph.” That wording gives you something you can check again. It also makes clear which two landmarks you are comparing, so a change in the crop cannot quietly change the question.

Separate the centre of the frame from the centre of the face
Imagine a photographer places you on the left side of a wide picture to leave space for the background. Your face can be straight toward the camera while the centre of the image passes through empty wall. Moving the crop to put your eyes near the middle changes the composition. It leaves the relationship among the features inside the portrait intact. Start by looking at where your face sits in the frame before concluding that something about the face looks off centre.
Camera roll is another possibility. If a doorframe, a shelf and your portrait all lean in the same direction, check whether the phone was tilted. A reference in the background only helps when you know it was upright, so use it as a cue rather than proof. You can straighten a copy to explore the effect, then take a fresh image with the phone level if you want a clearer comparison. Avoid warping or stretching one part of the photo to make it match another.
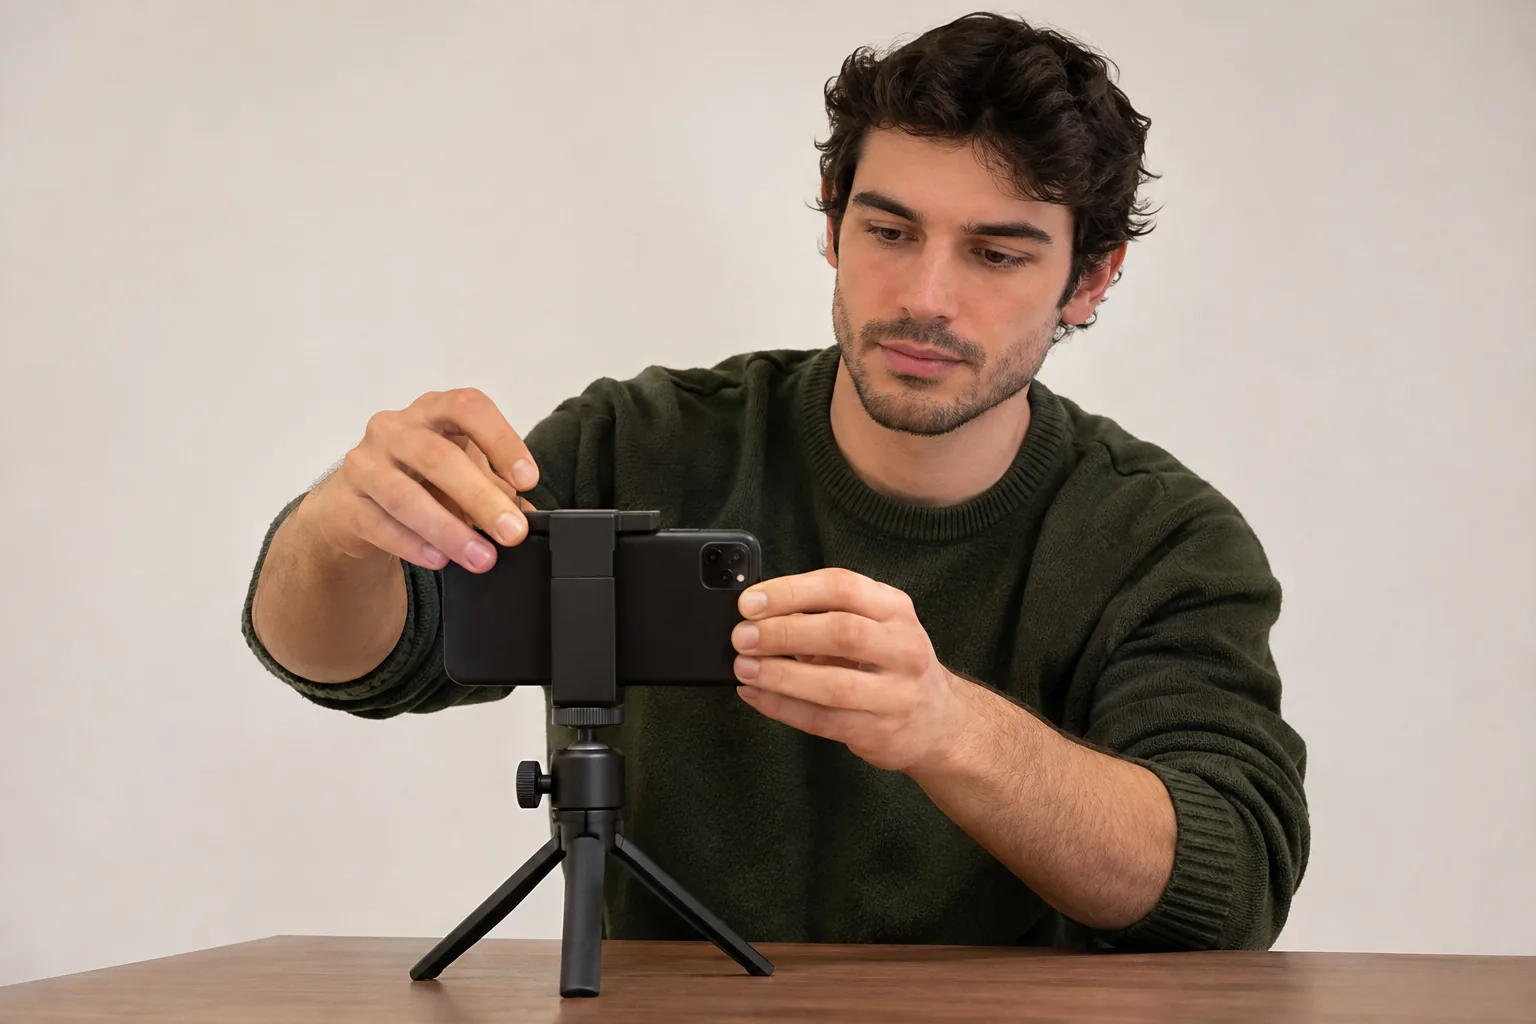
Sometimes a tilted head and a tilted phone happen together. Straightening the picture may make the wall upright while the head still leans. You can learn more by taking a fresh picture and changing only one thing. Put the phone on a support, keep the same distance, and settle into a comfortable position before the shutter fires. Then compare the two full portraits side by side at the same display size.

Look for rotation before comparing landmarks
A small turn changes the visible space on each side of the face. One cheek may take up more of the picture and the other may seem compressed. The nose can overlap the cheek differently. If you compare the chin against the centre of the nose in that frame, you are also comparing how the turn projects those features onto the image. Look at the cheeks and the position of the ears together. An ear hidden by hair is a weak clue by itself.
A study comparing frontal photographs with direct facial measurements used a specified camera setup, natural head position and lips at rest. Its protocol illustrates why researchers document how a portrait was taken. At home you can borrow the idea of consistency without trying to reproduce a clinical procedure. Choose a repeatable place for the phone and a comfortable distance. Use soft light so both sides are visible. Keep a full copy of the image with the top of the head and the chin in frame.
Make one reference with your face comfortably forward, and take a second after looking away and settling back. That brief reset helps you notice whether you can reproduce the first pose. Our guide to a neutral facial expression gives you a way to keep the mouth and jaw comfortable during the check. Stop after a couple of usable references. If the difference only appears in one frame, you already have useful information about the limits of that frame.
Treat the dental midline as its own reference
In a smile, you may notice the seam between the two upper front teeth. It is easy to use that line as a shortcut for the middle of the face because the boundary is often clear. But the centre of the visible teeth and a line based on the nose or chin are distinct reference choices. A smile also changes the shape of the opening and how much of each tooth you can see. A relaxed photo and a smiling photo serve different purposes.
If you are comparing expressions for a headshot, choose the smile that feels natural for that use. Check it at the size at which others will see the image. An observation you make when zoomed in on the teeth may have little bearing on which picture you prefer overall. If your question concerns dental function or treatment, take it to a qualified dental professional. A casual portrait gives you no reliable basis for choosing a dental change.
Give MogRise a clear starting photo and a concrete question
Suppose you want to choose a profile photo and keep noticing a tilt in the ones you took while holding the phone. First compare two repeatable front views yourself. If you choose to use MogRise, follow its guided front and profile capture and read the explanation alongside the result. Keep the views separate in your notes. A profile helps you see the outline from the side. The front view is the place to compare the visible positions of left and right landmarks.
If a result draws attention to balance, ask what you can actually locate in the photo. An overall score cannot tell you whether the phone was tilted. Describe one observation and choose one practical response, such as setting the phone level for a new reference. If the same impression appears again under clear conditions, decide whether it matters for your original purpose. You can keep the observation without making it a goal to change your face.
A note beside the reference can be brief: “Phone level, soft front light, shoulders comfortable. First picture turned slightly, second one straight.” If you revisit the question later, the note makes it easier to compare like with like. It also preserves the reason you kept a particular photo, even if you later crop it differently for a profile.