
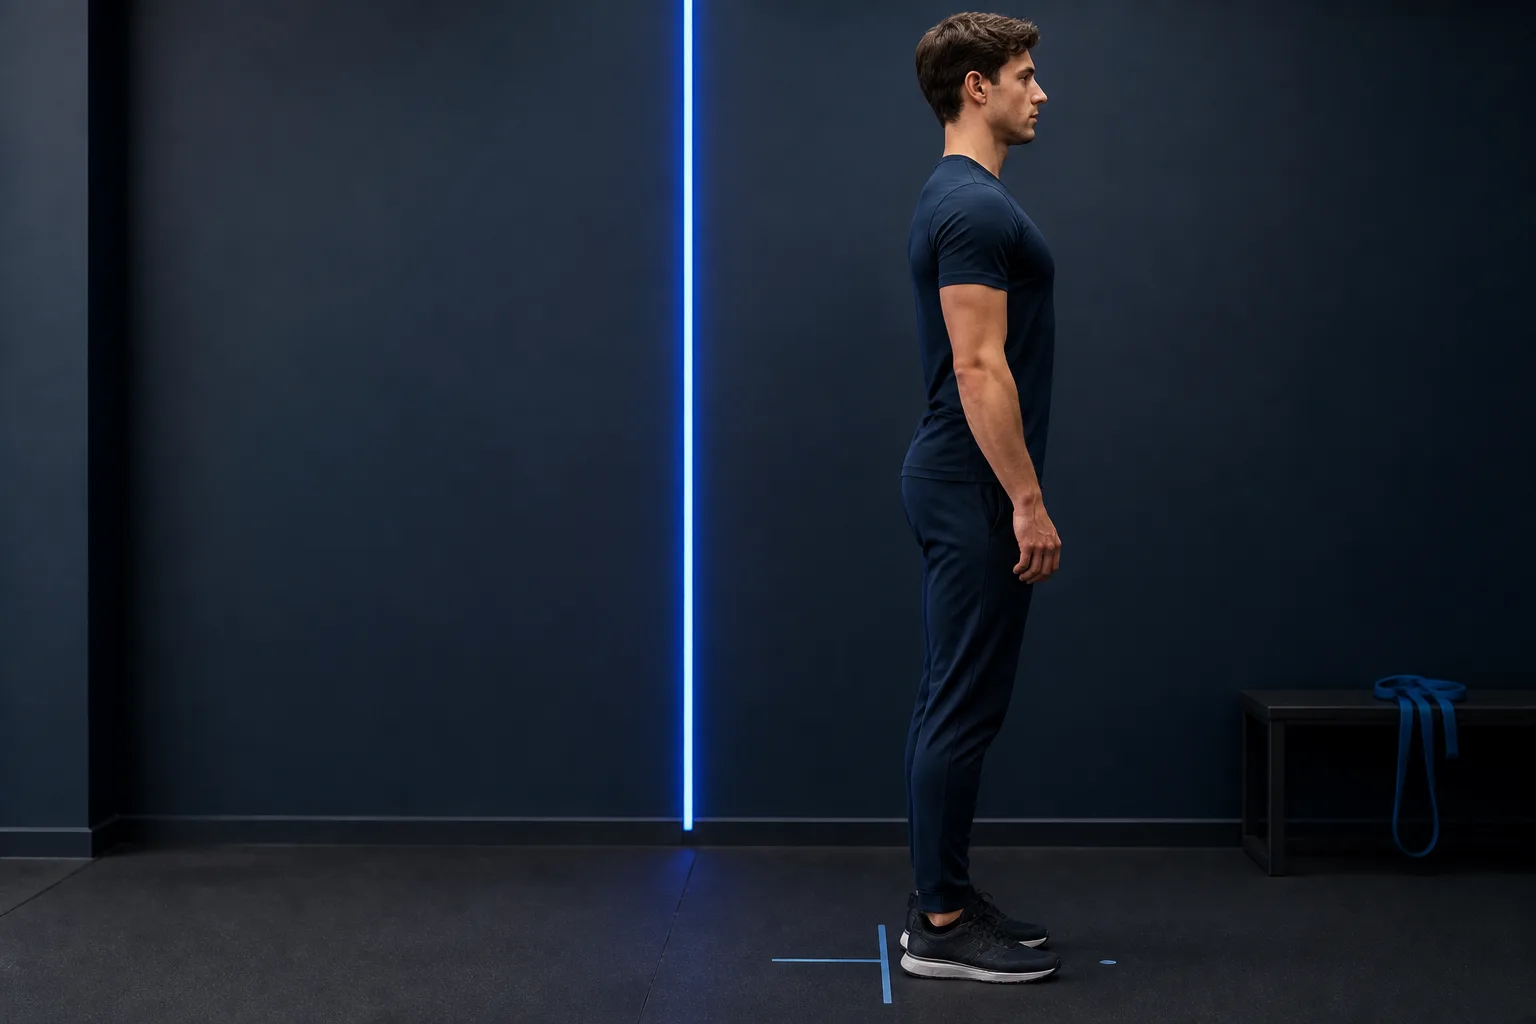
LooksMax posture changes the complete frame around your face. A head that drifts forward shortens the visible neck, softens the jaw-to-neck transition and lets the shoulders disappear behind the chest. A stacked, relaxed position creates a longer neck line, a cleaner side profile and a broader-looking upper frame before you change your haircut, beard or wardrobe.
The useful goal is not a stiff military pose. You want alignment that remains comfortable while you breathe, walk, work and speak. MogRise helps you record that position in consistent front and profile photos, read it beside FaceScore and LooksMax AI observations, and choose a small set of repeatable actions. That turns posture from a last-second photo trick into a visible part of your personal Glow Up plan.
See what LooksMax posture changes in your profile
Posture changes how several visual lines meet. In side view, the head, jaw, neck, upper back, chest and shoulders form one silhouette. When the chin reaches forward and the upper back rounds, the face appears to lead the body while the shoulder line looks narrower. When the head returns over the torso and the chest settles into a balanced position, the profile reads as one connected frame.
The front view changes too. Rounded shoulders rotate the arms inward and reduce the visible width across a shirt. A relaxed open shoulder position shows more of the upper frame and lets a fitted neckline sit cleanly. The effect works with grooming: a precise beard line and high-volume haircut look stronger when the neck is long and the shoulders support the visual weight of the face.
Treat posture as a presentation category that interacts with the rest of your plan. It can influence how the jawline appears in a profile photo, how glasses sit relative to the horizon, how a collar frames the neck and how confident a progress image feels. That makes LooksMax posture a high-connection priority: one improvement can support several existing choices at once.
Record an honest front and side posture baseline
Create the baseline before you practice a better pose. Place the phone on a stable support at roughly mid-torso height, step back enough to show your body from head to feet and use a level camera. Choose a plain fitted T-shirt and a simple background. Take one front view and one true side view while standing as you normally do, without pulling your shoulders back for the picture.
For the side photo, keep your feet parallel and look straight ahead at a mark placed at eye level. Let your arms hang naturally. Check where the opening of the ear sits relative to the middle of the shoulder, where the shoulder sits relative to the ribcage and hips, and whether the knees stay softly unlocked. These landmarks give you a repeatable visual map without forcing a perfect geometric line.
Save the camera position, distance, light and floor marks. Add a short note about where you had been sitting, walking or training before the picture, because your everyday setup affects the pose you bring to the camera. MogRise can place this profile beside the front view so you review neck, jaw, shoulder width and clothing fit as one connected presentation rather than isolated details.
- Full-body front and true side photos
- Level camera with enough distance
- Fitted dark top that reveals the shoulder line
- Natural stance before any correction cue
- Saved light, distance and floor position
Stack your head, ribs and pelvis without becoming stiff
Begin at the feet. Spread pressure evenly across heel, base of the big toe and base of the little toe. Keep the knees relaxed, then bring the ribcage over the pelvis instead of lifting the chest as high as possible. Exhale softly and allow the lower ribs to settle. This creates a stable center from which the shoulders and head can move freely.
Next, let the shoulder blades rest slightly back and down without squeezing them together. Imagine widening the collarbones rather than pinning the chest forward. Finish with a small backward glide of the head, as if making space at the back of the neck, while keeping the eyes level. The chin should not point sharply down and the jaw should remain relaxed.
Test the position by breathing and turning your head. If either feels restricted, reduce the correction until it becomes natural. Strong LooksMax posture looks calm because the body is stacked, not braced. Practice finding it from a slouched position, hold it for three easy breaths and release. Repeating that reset teaches you a position you can use in conversation and movement, not only in a still image.
Think tall through the crown, wide through the collarbones and stacked through the ribs and pelvis.
Use a short routine for head and shoulder posture
Build the routine around control, mobility and strength. Start with eight slow chin nods against a wall or while lying down, using a very small range. Continue with eight wall slides, keeping the ribs quiet as the arms move. Add twelve controlled band rows and pause when the elbows reach the torso. Finish with a relaxed doorway chest stretch on each side.
Add lower-body support so the improved upper position survives walking. A half-kneeling hip-flexor stretch can make it easier to stack the pelvis without arching the lower back. A suitcase carry with a manageable weight teaches the ribs, shoulders and hips to stay organized while you move. Walk slowly, keep the head level and switch sides before grip fatigue changes the shape.
Two systematic reviews listed in the sources found that exercise programs can improve measures used for forward head posture, with combined approaches appearing useful across head, shoulder and upper-back patterns. For a LooksMax plan, the practical lesson is consistency: choose a compact sequence you can perform cleanly several times per week, record it and increase control before adding resistance or extra exercises.
- Eight gentle chin nods
- Eight controlled wall slides
- Twelve band rows with a short pause
- A comfortable doorway stretch on each side
- One controlled carry on each side
Change the desk and phone positions that repeat all day
A ten-minute routine has more impact when the other hours stop pulling you into the same collapsed position. Raise the main screen so the center sits closer to eye level, bring the keyboard and mouse near enough that the elbows stay under the shoulders and support the feet. The setup should let you work while stacked instead of asking you to remember a correction every minute.
For a phone, bring the screen higher and support the working arm when possible. Switch hands, use voice input for longer notes and separate scrolling from your most slouched chair. During calls, stand and walk with the eyes on the horizon. These small choices reduce the number of times your head has to reach forward while your upper back rounds around the device.
Use transitions as reset cues. Each time you send a long message, finish a meeting or leave a train, stand tall for three breaths, widen the collarbones and walk twenty deliberate steps. The cue is attached to something that already happens, so it does not depend on motivation. LooksMax posture becomes the default you revisit throughout the day instead of a single workout event.
Apply LooksMax posture to photos and everyday presence
Before a photo, place the feet first and shift the whole body rather than pushing the chin toward the lens. Create length through the neck, let the shoulders sit wide and turn the torso slightly while keeping the head balanced above it. For a profile, look at a fixed point at eye level. This keeps the jaw-to-neck line readable without an exaggerated chin lift or forced jaw clench.
Camera position still matters. Keep the phone far enough away to avoid wide-angle distortion and use a moderate crop after the picture instead of filling the frame from arm’s length. For progress photos, stay with eye-level or mid-torso-level placement and the same lens setting. A lower camera can create a dramatic fashion image, but it should not replace the neutral baseline used to judge change.
Carry the same cues into walking and conversation: even foot pressure, quiet ribs, open collarbones and eyes on the horizon. Allow the arms to swing and keep breathing normally. Presence reads more strongly when the posture responds to movement instead of remaining frozen. Your goal is a repeatable silhouette that looks composed from several angles and feels natural enough to keep.
For progress photos, improve the posture while keeping the camera conditions unchanged.
Coordinate posture with hair, beard and clothing
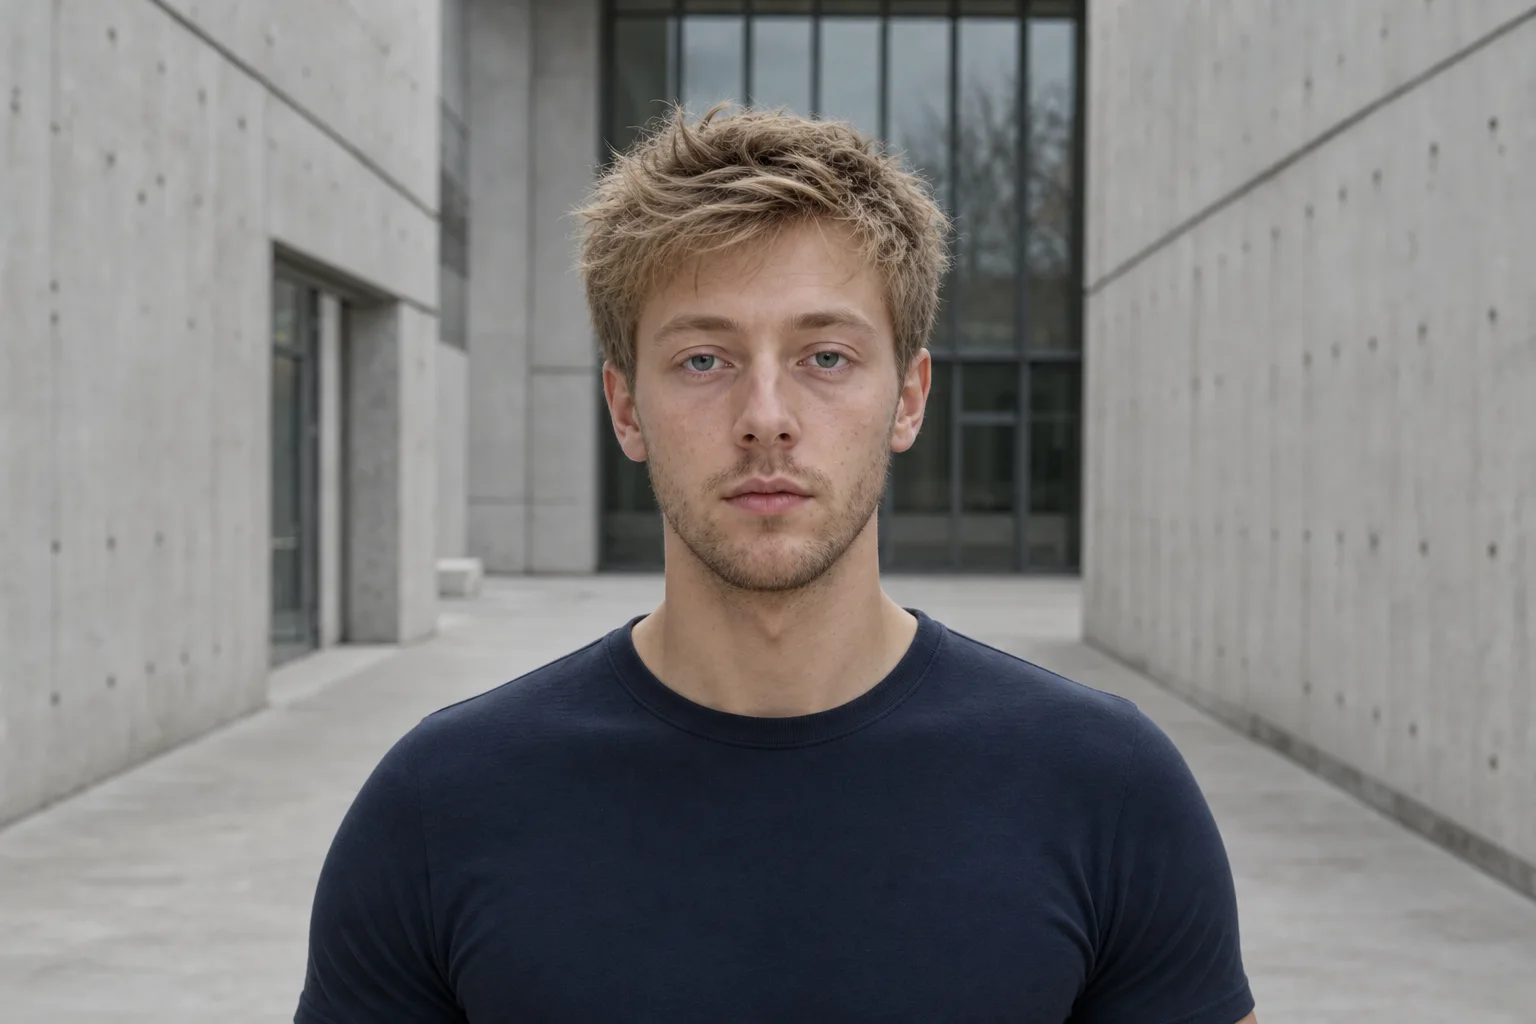
Posture gives your grooming decisions a stronger frame. High-volume hair adds height above the face; an upright neck and open shoulders balance that height below it. A precise short beard or designer stubble can define the lower face, while a natural head position keeps the beard line connected to the neck. Review all three together in the same side photo before changing another variable.
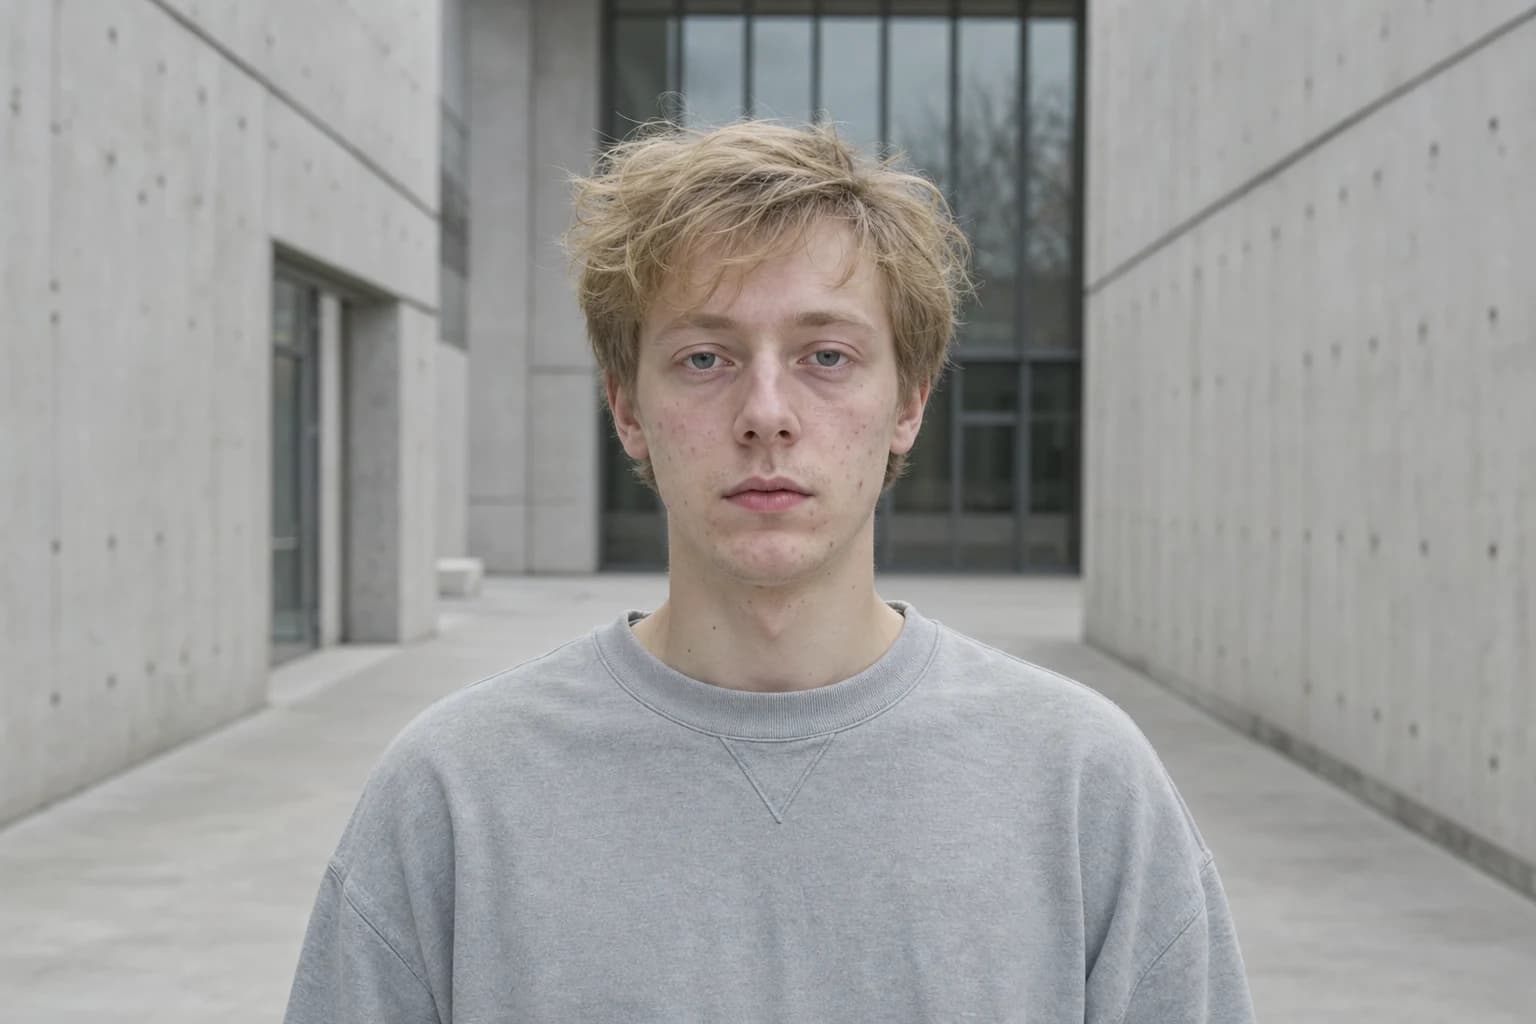
Choose clothing that reveals the improved structure. A fitted shoulder seam should meet the end of the shoulder, the neckline should sit flat and the torso should have shape without pulling. Dark navy, charcoal and deep neutral colors create a clean outline for progress pictures. Avoid using an oversized dropped shoulder top for the baseline, because it hides the exact line you are trying to assess.
MogRise can connect those observations with FaceScore context and the rest of your LooksMax AI analysis. If posture is the active priority, keep hair and beard maintenance stable for the review period. If a haircut is active, keep the posture photo setup consistent. Controlling the other variables makes the final comparison easier to read and gives each improvement a clear role.
Build a four-week MogRise posture plan
In week one, record the neutral front and profile baseline, learn the stacked position and perform the short routine three times. Add one desk adjustment and one phone cue. In week two, repeat the routine, add controlled carries and practice the posture during a daily ten-minute walk. Mark each completed session inside a simple calendar.
In week three, apply the position to clothing and photos. Test two fitted tops, keep the same haircut and beard lines, and take one practice front and profile set without comparing it yet. In week four, repeat the original camera, light, distance and clothing conditions. Compare the neck line, head position, visible shoulder width and complete silhouette, then select the cue that created the most repeatable improvement.
MogRise is being prepared as a free download for iPhone and iPad. Selected features or usage levels may include optional in-app purchases or subscriptions, and the App Store link will be added when the listing becomes available. Until then, use this LooksMax posture guide as a focused cycle: record, align, train, apply and compare before choosing the next priority in your Glow Up plan.
- Week 1: baseline, alignment and environment
- Week 2: routine, carries and walking practice
- Week 3: clothing and photo application
- Week 4: matched comparison and next priority